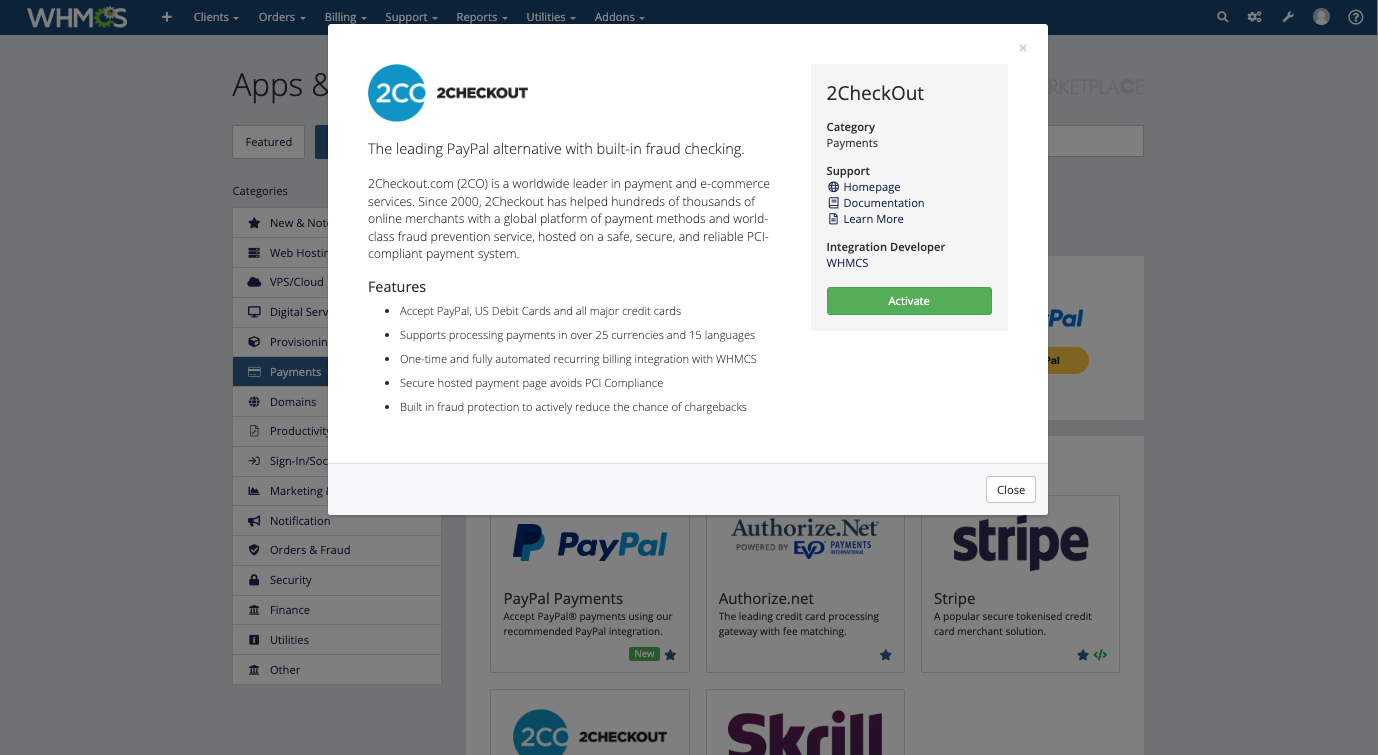
2CheckOut
The 2CheckOut payment gateway allows you to receive one-time and recurring payments, issue refunds, and other features.
Supported Features
Type: Third-Party
| One-Time | Recurring | Refunds | Reversals |
| ✓ | ✓ | ✓ | ✖️ |
| 3D Secure | Remote Update Card | Remote Delete Card | AddPayMethod API |
| ✖️ | ✖️ | ✖️ | ✖️ |
Adding the 2CheckOut Payment Gateway
To set up the 2CheckOut payment gateway in WHMCS:
- Go to Configuration () > Apps & Integrations or Addons > Apps & Integrations.
- Click 2CheckOut.
- Check Show on Order Form to display this payment method in the Client Area during checkout.
- Optionally, enter a new display name.
- Enter your vendor account number. You can find the vendor account number in your 2Checkout account by clicking the gear icon and copying the Merchant Code value.
- Choose your desired checkout style. We recommend always selecting Standard Checkout.For more information, see Checkout Style below.
- Enter your API username and password. You can create these in your 2Checkout account:
- Go to Settings > Manage User Access > View Roles > Add Role and enable Manage api access.
- Go to Settings > Manage User Access > View Users > Add User and create a new user with the role you just created.
- Enter a secret word. You can find the secret word in your 2Checkout account:
- In your 2Checkout account, go to Integrations.
- Copy the INS Secret Word value or generate a new one. The secret word is case-sensitive and can only contain the letters
a–z.
- Select a Recurring Billing setting.For more information, see Recurring Billing below.
- Check Skip 2CO Fraud Check to prevent 2Checkout from performing fraud checks on payments.If the system later determines that a payment in WHMCS is fraudulent, you must manually reverse the payment in WHMCS and suspend any services.
- If you use multiple currencies, set Convert To For Processing to the value of the currency your 2Checkout account. For example, if your 2Checkout account is in USD, the Convert To For Processing setting must also be USD.
- Click Save Changes.
Checkout Style
The 2CheckOut module allows you to select between Inline Checkout and Standard Checkout checkout style options. However, 2Checkout has deprecated their legacy inline checkout style and it is no longer available.
- 2Checkout will use the standard checkout style regardless of your Checkout Style setting.
- We recommend always selecting Standard Checkout.
- We plan to remove this setting in a future WHMCS version.
This applies to 2Checkout’s legacy inline checkout style and not to their current InLine checkout feature.
Recurring Billing
When you configure recurring billing, you can select the following options:
- Offer Recurring & One Time Payments — Provide both recurring and one-time billing options.
- Offer Recurring Only — Only provide a recurring option. This option will only appear when there is a recurring item on the invoice and the invoice is not overdue.
- Offer One Time Only — Only provide a one-time option. This option will not allow automatic recurring payments.
If you choose Offer One Time Only, you must configure it in your 2Checkout account:
- Log in to your 2Checkout account.
- Go to the Integrations tab.
- To set the 2Checkout callback process to automatically mark invoices
paid:
- Check Enable INS and Enable global URL.
- For Global URL, enter
https://www.example.com/whmcs/modules/gateways/callback/tco.php, wherehttps://www.example.com/whmcs/is the URL of your WHMCS installation.
- To return clients to your WHMCS installation after payment, set Approved URL under Redirect URL to
https://www.example.com/whmcs/modules/gateways/callback/2checkout.php, wherehttps://www.example.com/whmcs/is the URL of your WHMCS installation. - Click Update.
Demo Mode
To use demo mode:
- Set the Demo Setting in your 2Checkout account to Parameter under Account () > Site Management.
- In WHMCS, enable demo mode by checking the checkbox at Configuration () > System Settings > Payment Gateways.
In demo mode, you must submit valid credit card data in order to properly perform the request. This process will not charge credit cards.
Troubleshooting
You can find information about most payment gateway-related errors in the logs at Billing > Gateway Log and in the Module Log.
You may encounter the following common issues:
| Error or Issue | Cause | More Information |
Aw, Snap! Something went wrong while displaying this webpage. Err code RESULT_CODE_KILLED_BAD_MESSAGE | Your Checkout Style setting in the 2CheckOut module configuration is Inline Checkout. | 2CheckOut Inline Checkout Crash |
Authentication failed | The credentials are incorrect in your payment gateway configuration. | Authentication Failed Errors |
MD5 Hash Failure or MD5 Signature Failure | The secret word in your payment gateway configuration is incorrect. | MD5 Hash Failures |
Error Code PE101 | There are invalid details in your 2CheckOut configuration. | PE101 Errors |
Last modified: 2026 April 30