Email Templates
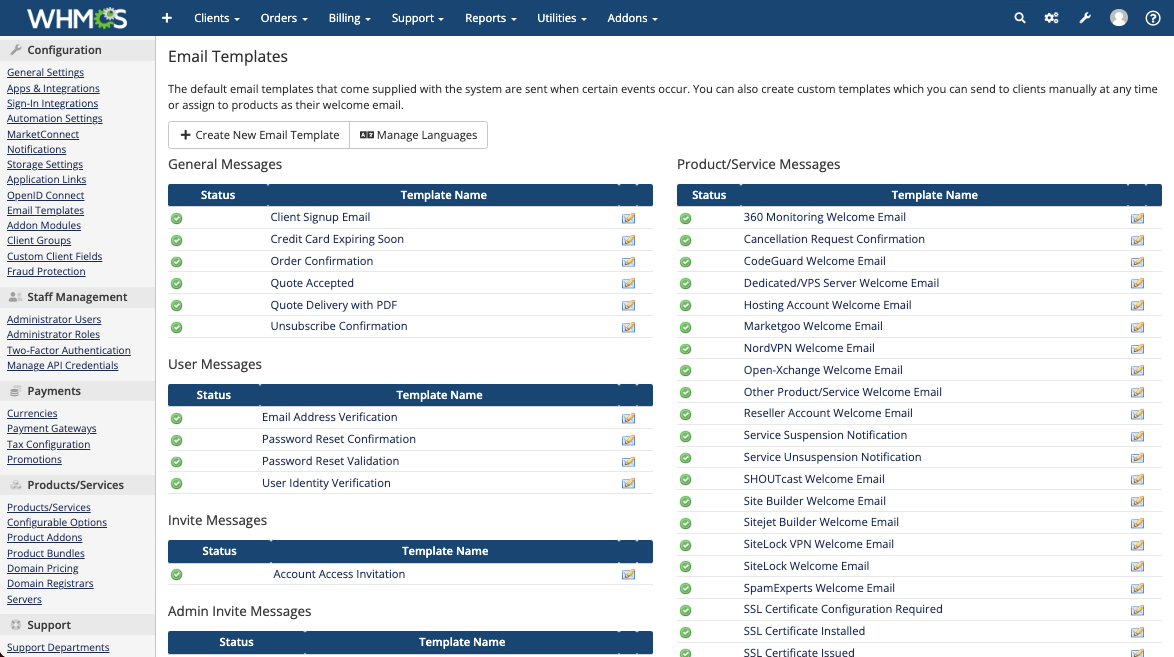
WHMCS’s email templates determine the contents of the email messages that your WHMCS installation sends to your customers. You can customize all of WHMCS’s included email templates or create your own templates.
You can access this feature at Configuration () > System Settings > Email Templates.
Edit Email Templates
To edit an email template, click the edit icon next to the template you want to change. You can update header information like the sender name and email address, CC and BCC recipients, and whether to send the email as plain text. You can also add attachments and update the email body.
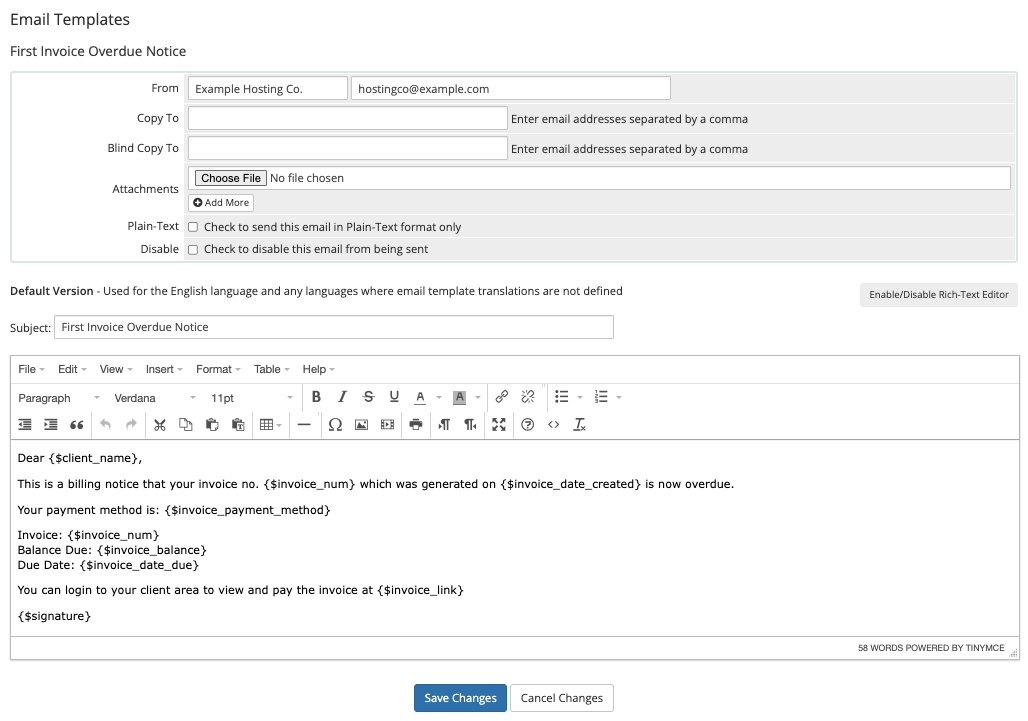
Click Enable/Disable Rich Text Editor to change between rich text editor and HTML view.
- For steps to customize an email template, see Customize Email Templates.
- WHMCS’s email templates use the Smarty syntax. For more information, see our Developer Documentation.
- You can’t modify the sender or subject for support ticket email templates. They must use a specific format for the email piping feature to import email replies into the ticket system.
- We recommend that you avoid
{php}tags in your custom email templates for security reasons. However, if you need to use them, we recommend using theEmailPreSendhook point to create your own Smarty merge fields to run your custom PHP logic.
Attachments
To add attachments to an email template, click Choose Files and browse to the file that you want to attach. Click Add More to attach more than one file.
The system uploads email template attachments to your downloads directory.
Merge Fields
You can use merge fields to add variables that the system replaces with the user’s data when it sends the email.
The merge fields in your message depend on the type of email that you are sending. For example, an invoice-related email template would allow you to include merge fields for invoice information, while a support ticket email template would include merge fields for support ticket data.
- You can view a list of available merge fields for the email template that you are editing under the editor window.
- Clicking on a merge field’s description will insert the merge field into the email body.
Addon Merge Fields
To display the addon name in the welcome email, use the format {$addon_name}. This will now allow you to send the name of the addon that the client purchased in your welcome emails for products.
Custom Fields
You can also display custom fields in emails using merge fields.
- To display custom client fields in email templates, reference them by name using the format
{$client_custom_field_fieldnamehere}.- For
fieldnamehere, convert the custom field name to lowercase and remove anything other thana–zand0–9. - For example,
VAT Numberwould becomevatnumberafter removing the space, so the merge field would be{$client_custom_field_vatnumber}in the email template.
- For
- To display product custom fields in email templates, reference them by name using the format
{$service_custom_field_fieldnamehere}. - To display all the custom fields that apply to a product, you can use a
foreachloop. For example:{foreach from=$service_custom_fields item=customfield} {$customfield} {/foreach}
Conditional Display
You may want to display text in an email only under certain conditions. To do this, use a conditional statement.
For example, to include specific information in a sales support ticket submission, you might add the following conditional statement to the Support Ticket Opened email template:
{if $ticket_department eq "Sales"}
The sales department is open 9-5pm Monday-Friday. We thank you for your patience.
{/if}
Headers and Footers
You can configure a universal header and footer to use in all email templates. The header will display at the top of every email template that the system sends. The footer will display at the bottom of every email.
You can configure these in the Mail tab at Configuration () > System Settings > General Settings.
Localize Email Templates
By default, editing an email template customizes the default version of the email template. The system sends the default email template for your installation’s default locale and any locales for which you have not localized the email template.
To enable email template customization for additional locales, click Manage Languages and select the desired locales.
- If you have customized an email template for the client’s preferred locale, the system will send the localized version instead of the default email template.
- You can select your installation’s default locale in the Localisation tab at Configuration () > System Settings > General Settings.
- For steps to enable customizing email templates in other languages, see Localize Email Templates.
- For more information on localization in WHMCS, see Localization.
Add Custom Templates
You can create your own email templates to serve as custom welcome emails for products or messages you send manually but frequently.
To do this, click Create New Email Template and specify the desired email subject and body.
- Use a unique name for the template so that you can identify it easily in menus. Only admins will see the name that you give it.
- You can only create email templates for the types that you can manually send: General, Product, Domain, and Invoice.
Mass Mail Template. The system will remove any email template you create with this name after you send a mass mail. We recommend that you don’t use this name.Disable Email Templates
In some circumstances, you may want to stop the system from sending specific emails. For example, you might not want to send invoice creation or service suspension emails.
To disable an email template from ever sending, edit the email template and check Disable. The system will not send that email template again until you enable it.
Last modified: 2026 April 30