Install WHMCS
To start using self-hosted WHMCS, you will need to install it on your server. You may need help from your hosting provider or system administrator to do this.
- Review these instructions in full before you get started, to make sure that you have everything you need.
- Before you start installation, check the system requirements to ensure system compatibility and set up your WHMCS database.
- If you are installing WHMCS on a Plesk server, you can use the Plesk WHMCS Installer to install WHMCS in just a few clicks. For more information, see WHMCS Installer.
Installing WHMCS
To install WHMCS, you can use the following process:
1. Purchase a license and download WHMCS.
To use WHMCS, you will need to purchase a license, either directly from WHMCS or from a reseller. Then, you will need to download the software.
If you purchased your license key directly from WHMCS:
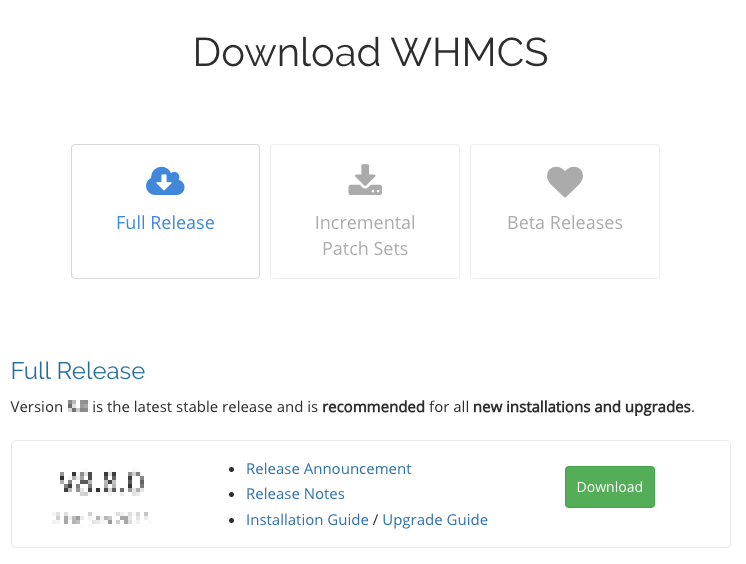
- Go to WHMCS Downloads.
- Click Download under Full Release to download the latest release version.
If you obtained your license key from a reseller and you don’t have a login for our Members Area, your reseller can provide the latest WHMCS files.
2. Verify the system requirements.
You must ensure that your setup meets the system requirements for your chosen version of WHMCS.
Make certain to check:
- The operating system and web server configuration.
- The PHP version, configuration, and extensions.
- The MySQL® version.
- The ionCube Loader® version.
3. Upload the files to your server.
You will need to unzip the downloaded release file and upload it to the server that will host WHMCS. You can do this manually or using your hosting control panel’s file management tools.
Using cPanel
To upload and unzip files using cPanel:
- Log in to the cPanel account that will host your WHMCS installation.
- Go to the File Manager interface (Files » File Manager).
- Double-click on the
public_htmldirectory. - Click Upload.
- Select the downloaded ZIP file and click Select File.
- When the upload finishes, click Go Back. You will see the newly-uploaded
.zipfile in thepublic_htmldirectory. - Right-click the
.zipfile and select Extract. - Choose a destination, and then click Extract File(s).
Manual Upload
To do this using another upload method:
- Unzip the downloaded WHMCS ZIP file on your local computer.
- Upload the entire unzipped
whmcsfolder to your website. If you experience problems, try uploading the folder in binary mode.
Optionally, you can rename the folder (for example, billing).
admin folder by default, you cannot use admin as the installation folder name.4. Create the WHMCS database.
WHMCS uses a MySQL database to store settings and data. You must create one during the installation process, or create one before you begin.
You can use many different methods to create databases. The most common methods are to use your hosting control panel (for example, cPanel or Plesk) or the MySQL command line.
Database Privileges
Make sure that your database user has the correct privileges. For the installation process, WHMCS requires the following database privileges:
ALTER     DROP      LOCK TABLES
CREATE    INDEX     SELECT
DELETE    INSERT    UPDATE
For daily operations, you can restrict WHMCS’s database by removing the ALTER, CREATE, DROP, and INDEX privileges. WHMCS only requires these privileges for installations, updates, and activating or deactivating modules.
Encrypted MySQL Connections
WHMCS supports encrypted MySQL connections.
- If your server requires encrypted MySQL connections, you must use the command-line method instead.
- If your server doesn’t require them, use the steps below and then update the
configuration.phpfile for encrypted connections after installation.
5. Install WHMCS using the browser.
In your preferred web browser, navigate to the installation script at the following address, where http://www.example.com is the location of your server:
http://www.example.com/whmcs/install/install.php
Follow the instructions to install WHMCS, including accepting the End User License Agreement, setting file permissions (see below), entering your license key, and setting up your primary admin account.
6. Delete the installation folder.
When you have finished the installation process in your browser, an Installation Completion page will appear. You can now safely delete the install folder.
7. Check the file and folder permissions.
Check to ensure that you are using the correct permissions for WHMCS’s configuration file (configuration.php) and the attachments, downloads, and templates_c directories. WHMCS will not function correctly if they do not use the correct permissions.
WHMCS requires the following file and folder permissions for most installations:
/configuration.php—CHMOD 400(Readable)/attachments—CHMOD 777(Writable)/downloads—CHMOD 777(Writable)/templates_c—CHMOD 777(Writable)
You may need to adjust these permissions to suit your environment. For example, if you use suPHP or suEXEC, you may need to restrict directory access further. DSO requires 644 permissions.
Limit access to only the account that owns the web server process. Make sure that no other system or user accounts can read your configuration file or modify any WHMCS-related files.
Next Steps
After you complete installation, we recommend that you configure WHMCS in the following order:
- Review our recommended additional steps to enhance your installation’s security.
- Log in to the WHMCS Admin Area and complete the Getting Started Wizard. The Getting Started Wizard allows you to quickly configure your settings for:
- Your company’s basic information, address, and logo.
- Payment processing using PayPal Payments, Bank Transfers, or Mail In Payments.
- Domain registration with Enom.
- Domain pricing for selected TLDs.
- Your first cPanel, Plesk, or DirectAdmin hosting server.
- The MarketConnect products that you want to sell.
- Configure your installation’s remaining general settings.
- Set up your payment gateways.
- Set up your products to sell.
- Set up your support ticket departments.
- Set up email piping or email importing to manage email replies to support tickets.
- Create and configure the WHMCS cron job and its automated task settings.
- Place some test orders on your website.
Last modified: 2026 February 26