Order Form Templates
Order form templates define the look and feel of the shopping cart process. WHMCS ships with several order form templates.
Configuring the Order Form Template
You can set a system default order form template, select specific order form templates for individual product groups, or set the order form template using a custom URL.
System Default
You can set the system default order form template using System Default Order Form Template in the Ordering tab at Configuration () > System Settings > General Settings:

The system uses the default order form template for any product groups that don’t have a custom order form template.
Product Groups
You can set the order form template for a product group when you edit it at Configuration () > System Settings > Products/Services.
- Selecting an order form template here will override the system default when viewing that product group in the Client Area.
- It will also define the styling for the product configuration part of the order process for products and bundles within that group.
Custom URLs
You can also specify an order form template in custom URLs using the http://www.example.com/whmcs/?carttpl=xxxxx format, where xxxxx is the name of the order form template directory.
- Order form templates that you reference using this method take precedence over the system order form template and product group order form template.
- This selects the order form template for the duration of the customer’s visit to your website.
Templates
All of the templates that WHMCS ships with include support for headlines, taglines, feature highlights, and featured products.
WHMCS ships with the following order form templates:
| Order Form Template | Product Group Features | Recommended Number of Products | |
|---|---|---|---|
| Standard Cart This is the default order form template. Use it for any type of product. | ✖️ | 3 | |
| Nexus Cart An improved order form template with a dynamic UI. Use it for any type of product. | ✖️ | 3 | |
| Premium Comparison Use this for comparing several products. | ✓ | 3 | 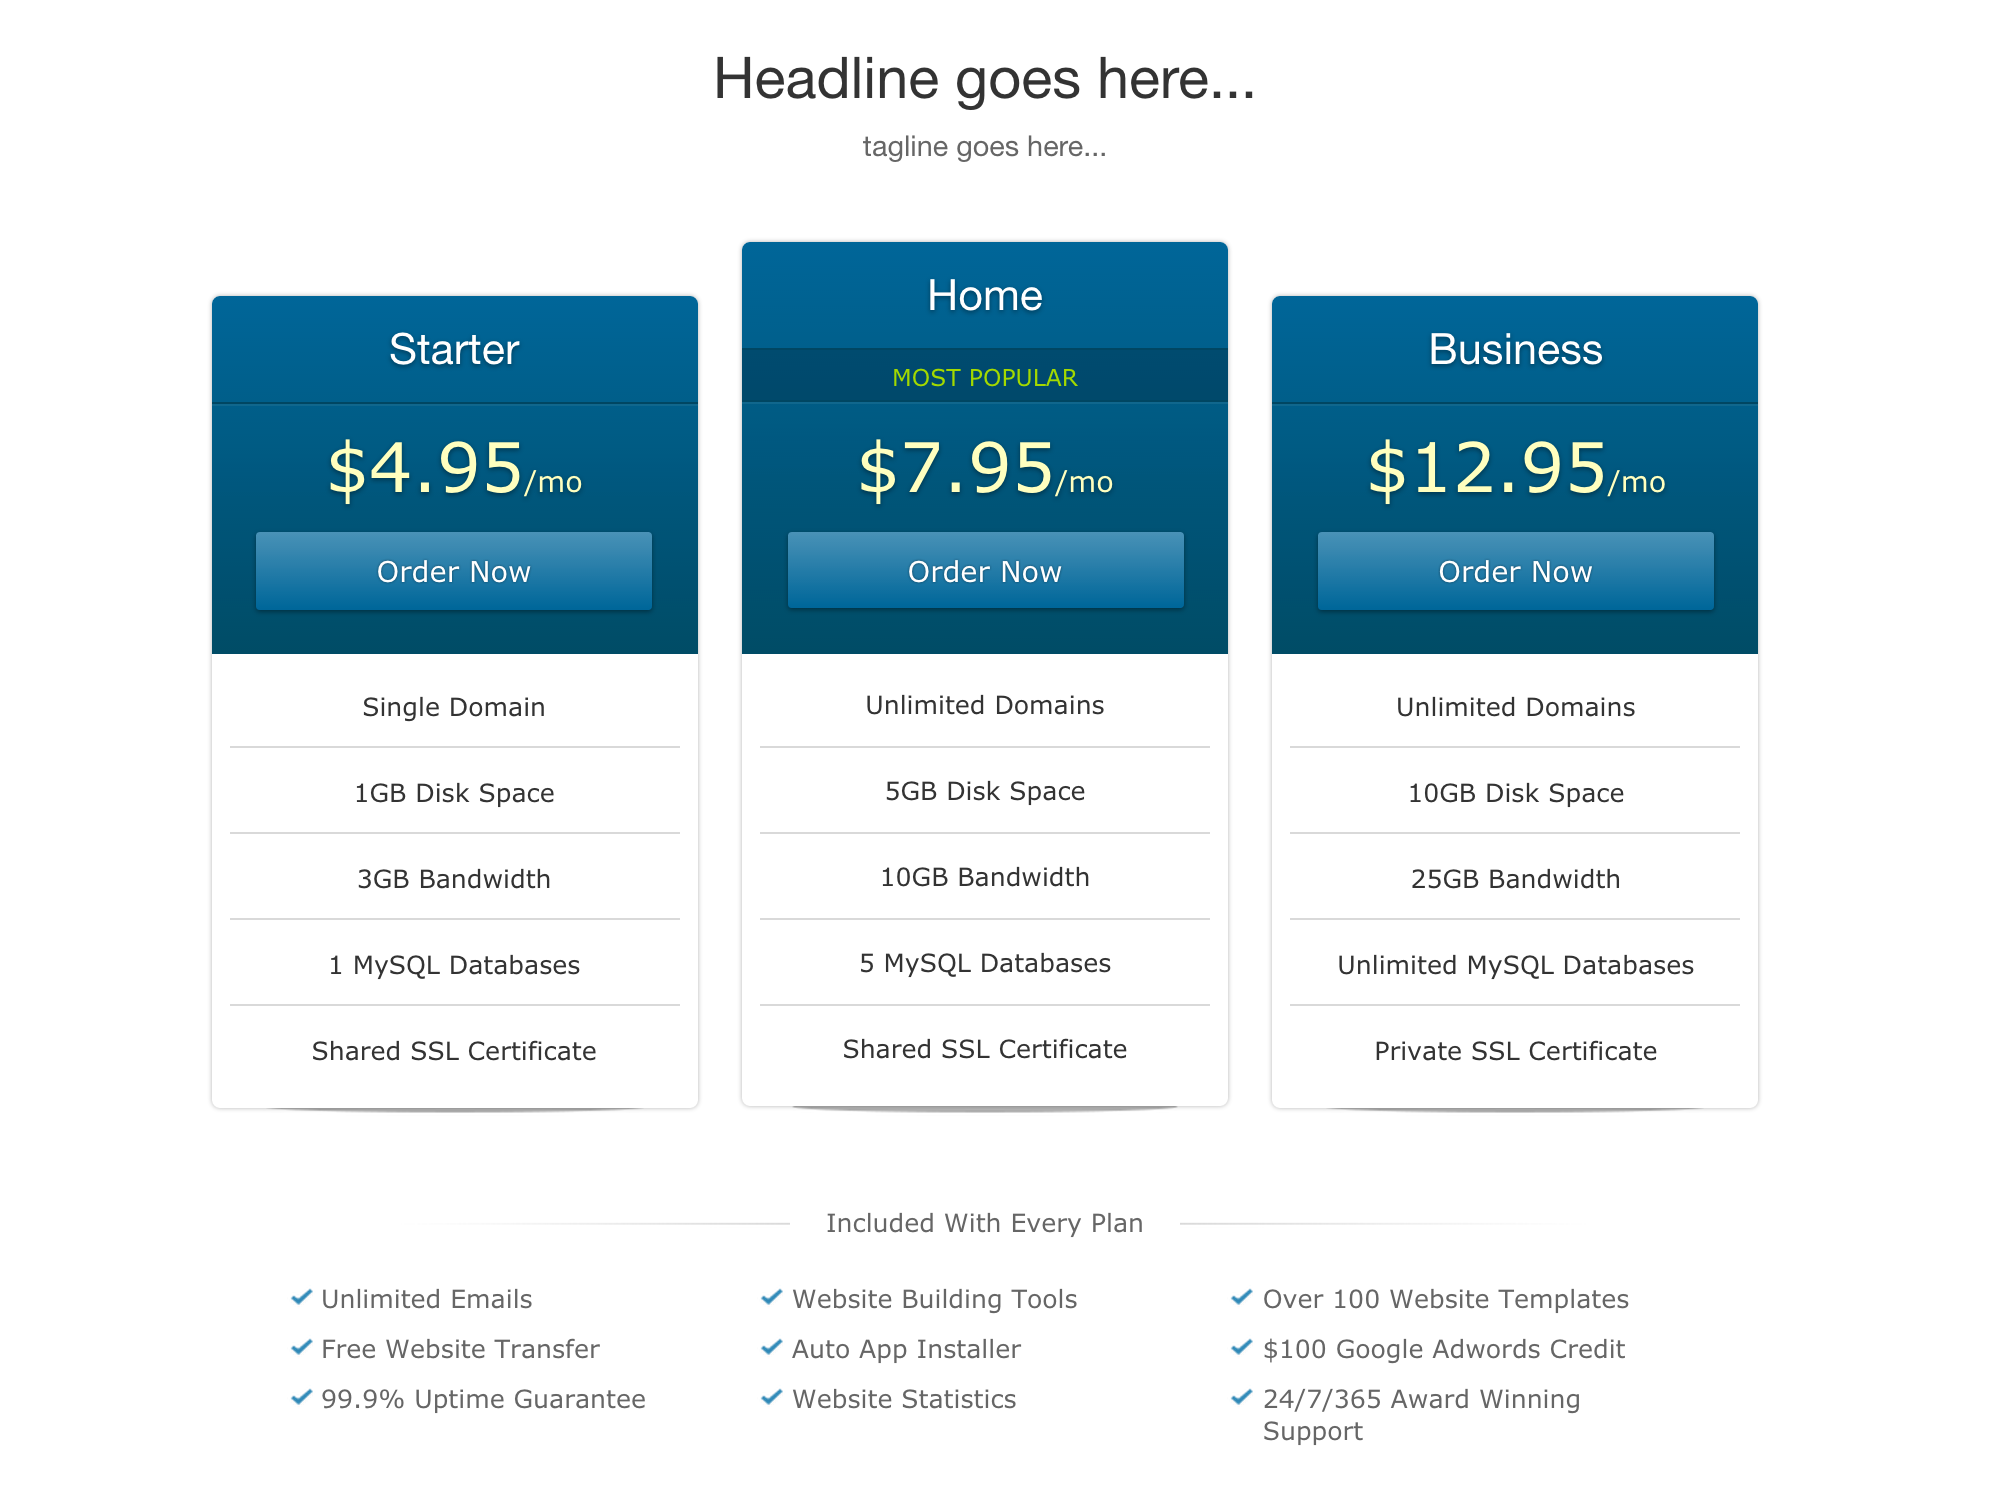 |
| Pure Comparison Use this for comparing several products. | ✓ | 4 | 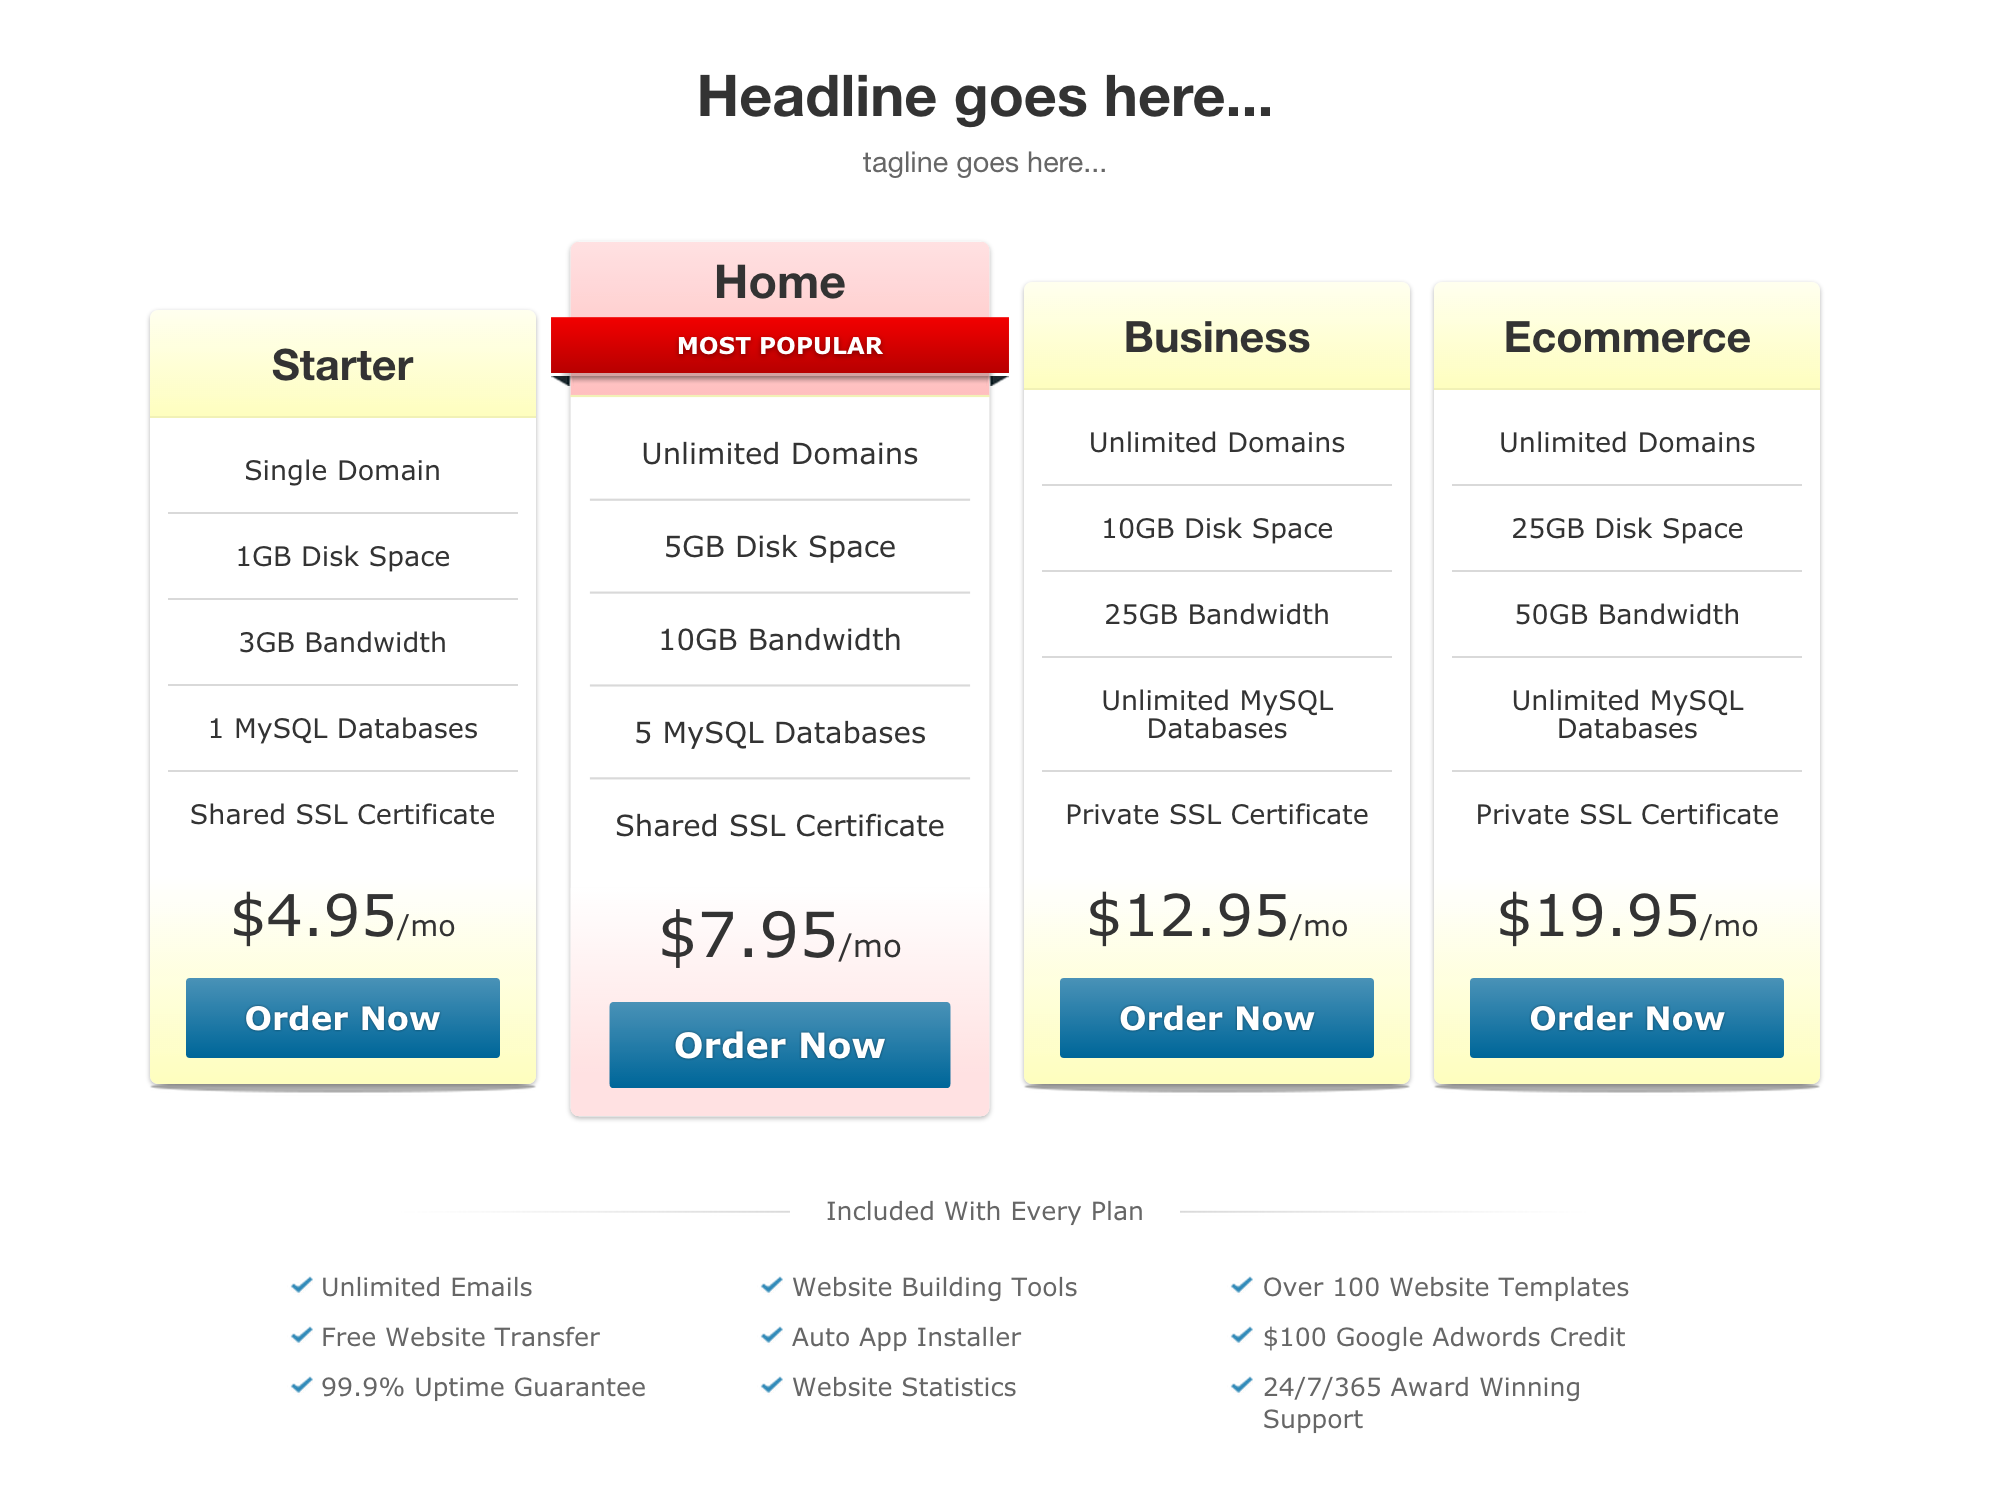 |
| Supreme Comparison Use this for comparing several products. | ✓ | 6 | 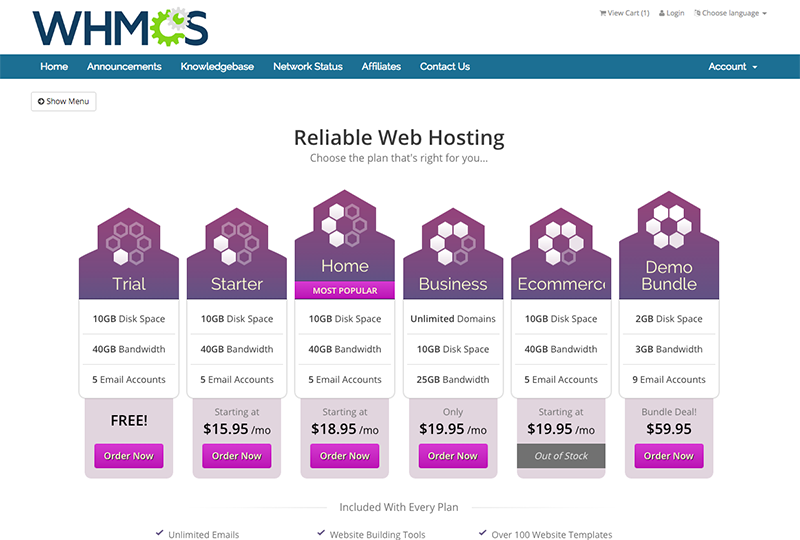 |
| Universal Slider Use this to showcase products in a slider format that can work universally for any type of product. It includes support for product feature comparison with percentage bars and a text description. For best results and to avoid page shifting between products, use the same product description format for all products within the group. | ✓ | 4–8 | 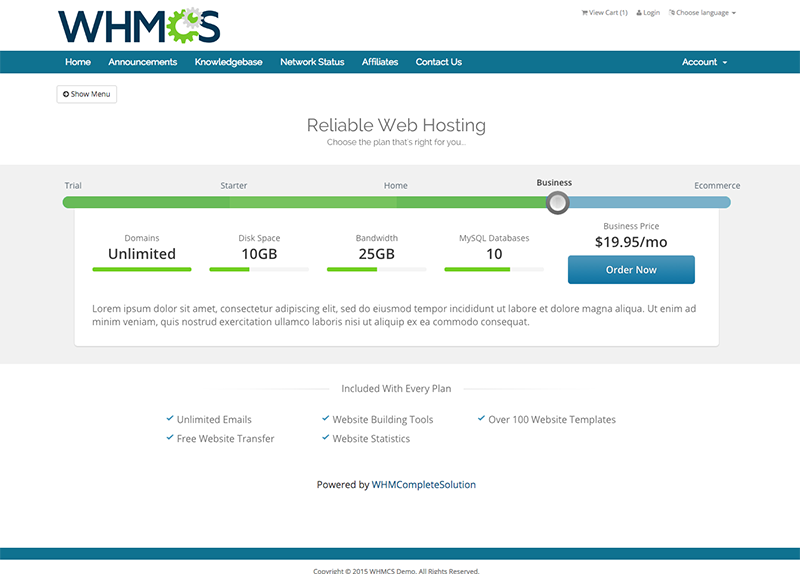 |
| Cloud Slider Use this for comparing products. For best results, use four feature or value comparisons and ensure you have the same format or order for all descriptions of products within the group. | ✓ | 2–12 | 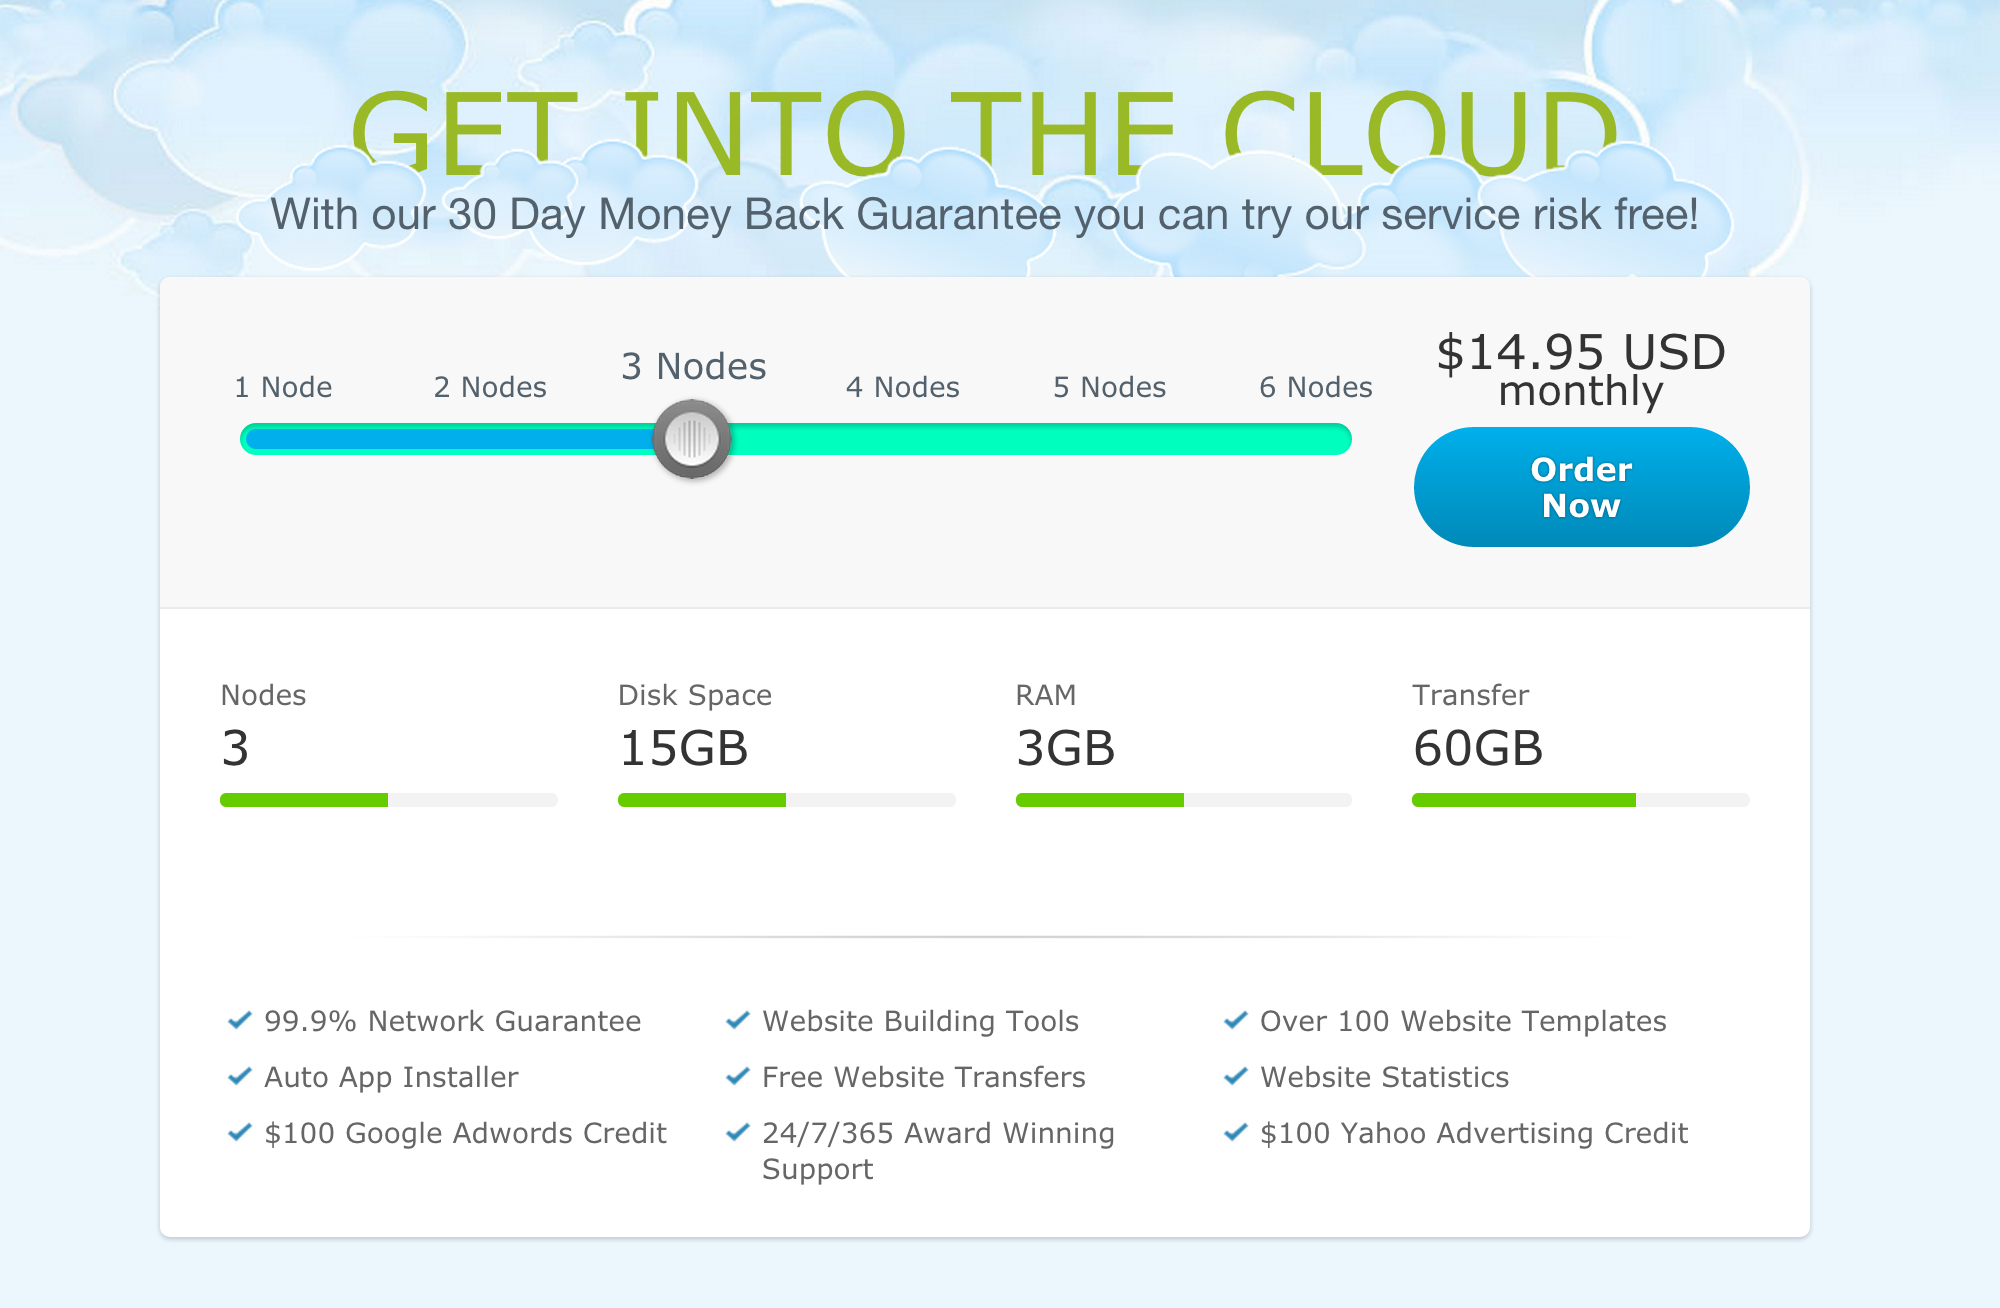 |
Bootstrap Compatibility
All of the above templates are compatible with the Six theme, which uses Bootstrap 3, and the Twenty-One theme, which uses Bootstrap 4.
Feature Highlights
Feature highlights allow you to define features for products and their values in a way that WHMCS can interpret for comparison-based appear.
Feature Highlights are part of the product description. You must enter them in the following format, with one feature per line:
Feature: Value
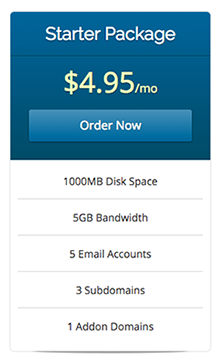
For example, the description for a shared hosting product using Feature Highlights might look like this:
Disk Space: 1000MB
Bandwidth: 5GB
Email Accounts: 5
Subdomains: 3
Addon Domains: 1
We recommend using the same features in the same order for all products within the same product group.
Last modified: 2025 December 16