Set Up a Test Environment
Creating a testing and development environment will let you verify all of your customizations without any changes to your production system. This helps to protect your data and customizations.
We recommend setting this up before you upgrade WHMCS and whenever you write modules, themes, or other customizations.
Create a Test Environment
To create a testing environment:
1. Get a Development License
Contact WHMCS Customer Service to get a development license.
- You can get one free development license for every active license that you purchase directly from WHMCS.
- If you purchase your WHMCS license through a reseller, you will need to buy the development license.
The addons for your paid license will be available in your test installation, with the exception of Live Chat. Installations using this type of license must be private and must return a Forbidden error or login prompt if accessed.
2. Meet the System Requirements
Your testing and development environment should meet the same system requirements as a production installation.
3. Duplicate your WHMCS Installation
For the most accurate results, your installation should be identical to your production setup, with the same data and configuration.
There are several methods to duplicate your installation. The method that you use will depend on many factors, including the hosting control panel you use.
If you’re using cPanel, copy your WHMCS installation in the File Manager interface:
- Log in to cPanel and go to Files » File Manager.

- Select the folder for your production installation.
- Click Copy.
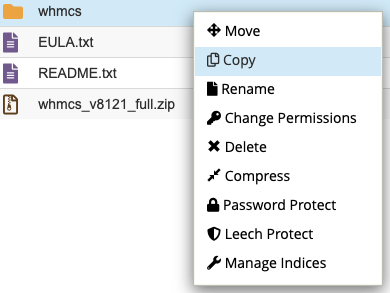
- Enter the new location (the location of your development installation).

- Edit the
configuration.phpfile in your development environment to reflect the new location.For more information, see The configuration.php File.
4. Duplicate your Database
You must also duplicate the data that WHMCS operates on. This means creating a second database, exporting the existing database, and then importing it to your new database. Like duplicating the installation, there are several ways to do this that partially depend on the hosting control panel you use.
If you’re using cPanel, you could follow this process:
- Use the MySQL Databases interface to create the new database.
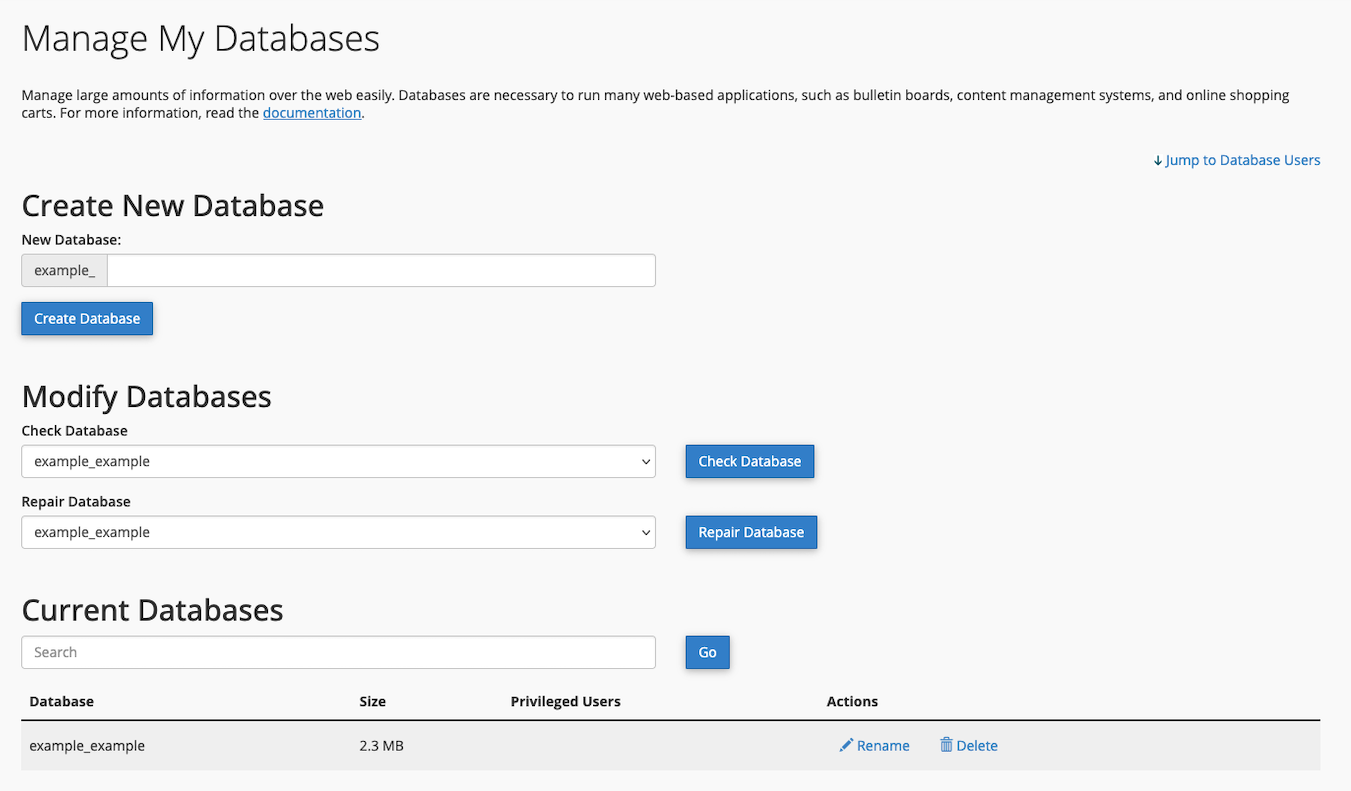
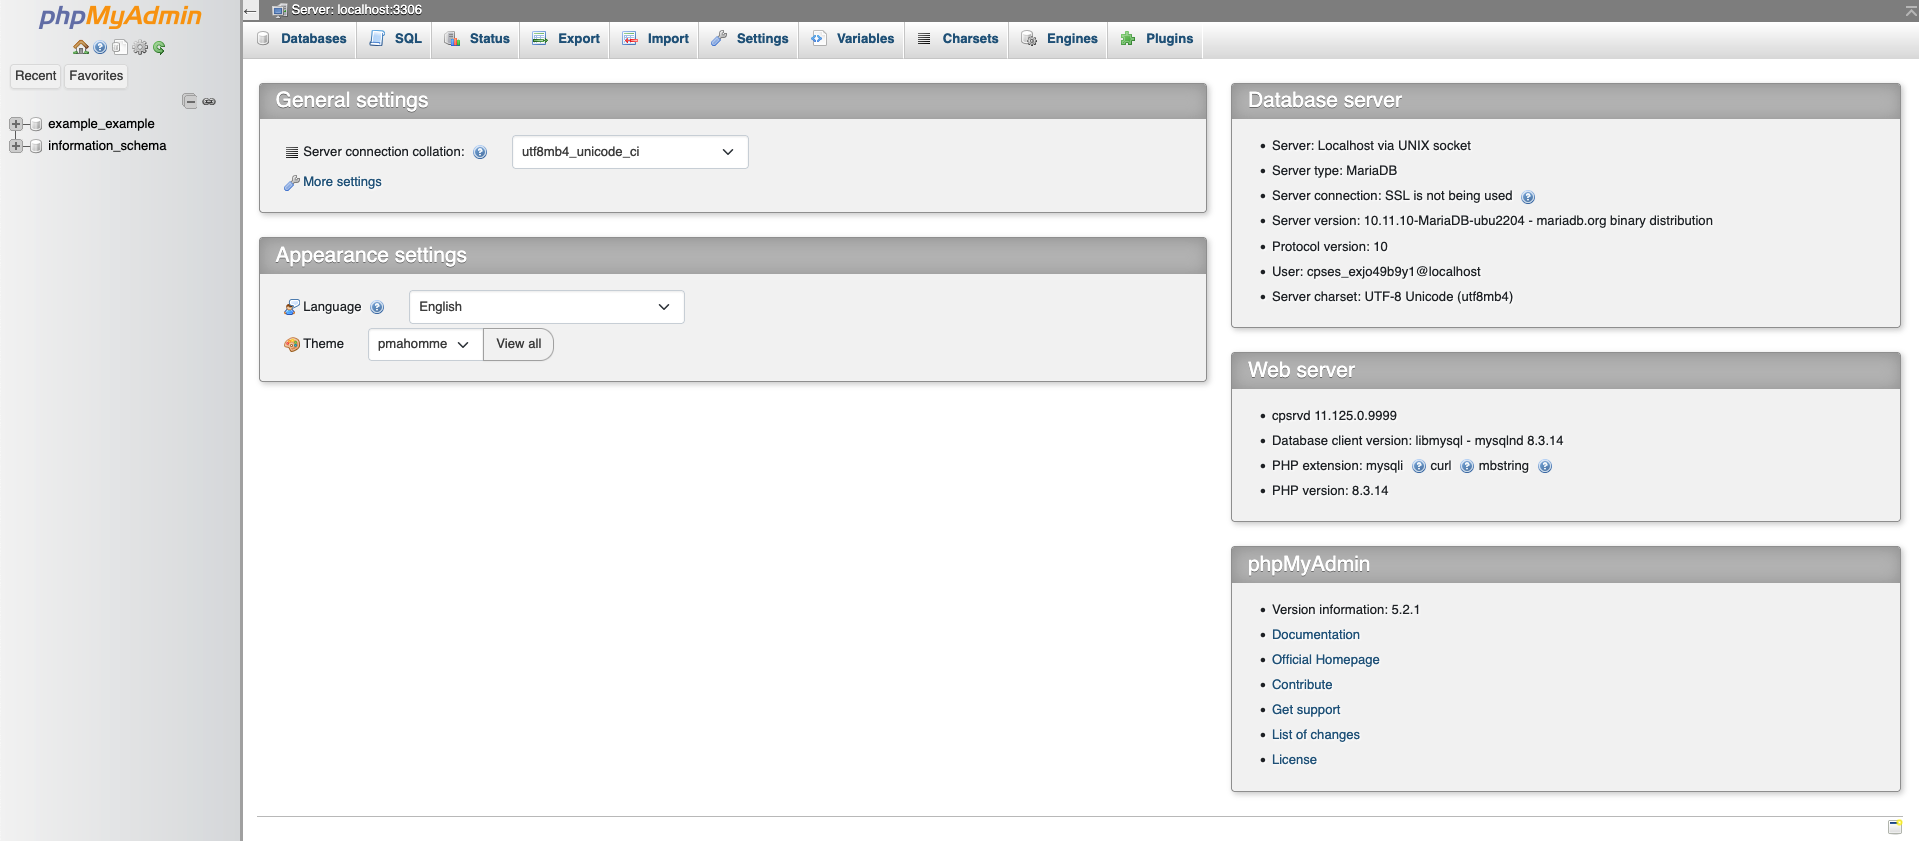
- Use phpMyAdmin to export the existing data and import it into your new database.
5. Password Protect your Installation’s Directory
The development license requires you to make the development installation inaccessible, either using password protection or other methods that return an error or a login prompt.
In cPanel, you can password protect the installation’s directory in Files » Directory Privacy.
6. Update the System URL
Make sure to update the system URL in the General tab at Configuration () > System Settings > General Settings to use the new testing environment’s URL.
If you can’t access the installation to do it in the interface yet, you can use this MySQL® command or update the value manually in phpMyAdmin:
UPDATE `tblconfiguration` SET value ='https://www.example.com/whmcs/' WHERE setting='SystemURL';
7. Prevent Sending Mail
To prevent sending test mail from your development installation to your real customers, set Disable Email Sending to ON in the Mail tab at Configuration () > System Settings > General Settings.
You can also use a service like Mailtrap.io to serve this purpose.
You may also want to set your payment gateways and domain registrars to test mode and disconnect from your production servers. You can also prevent accidentally charging customers by adding extra characters to the encryption hash in your development environment’s configuration.php file. This makes WHMCS unable to read encrypted data, ensuring that it can’t use encrypted data to charge credit cards or perform other actions.
configuration.php file, see The configuration.php File.Testing a New Version
After you copy your production installation and have confirmed that everything is functional, you can upgrade WHMCS to the new version. We recommend that you use the Automatic Updater for this, since it streamlines the process for you.
After upgrade, go through WHMCS and exercise all of the features and functions that you use most. Check both the Client Area and Admin Area, and make sure to place several orders for your various products. Advance these test orders through every step of the process, including marking them as paid and ensuring correct provisioning.
- Monitor Configuration () > System Health and look for any problems or incompatibilities. The Cron Job Activity Report email will confirm whether your automation tasks are successful.
- After you have completed everything successfully, you can upgrade your production installation.
We recommend that you follow the below steps to test your WHMCS installation and then reset it for production use before you make it available to your customers.
Testing Modules
When possible, WHMCS-shipped registrar and gateway modules come with a test mode or the ability to use a test environment to test transactions and domain orders.

Testing provisioning modules does not require a test mode. However, make certain that you are able to reverse all of the actions that you perform, both to restore the system to its original state and to test more functionality. For example, you could provision a cPanel account on a remote server and then use the Terminate module command to remove it.
Placing Orders
After you configure your required modules in test mode, place some test orders.
To place test orders in the Admin Area:
- Create a client account.
- If you have PHP experience, you can also add clients using the
AddClientAPI. - Make certain to configure the relevant domain or product pricing before proceeding with testing orders.
- If you have PHP experience, you can also add clients using the
- Create multiple test orders. For example, to place an order for a domain registration:
- In a client’s profile’s Summary tab, click Add New Order.
- Fill out the displayed form, beginning with choosing the payment gateway you want the client’s future invoices to use.
- Select None from the Product/Service menu.
- Select Monthly from the Billing Cycle menu for the product section.
- Enter the domain for Domain and select Register for Domain Registration.
- Choose the number of years you want to invoice the client for at the time of renewal.
You can also place an order by clicking Login as Owner in the client’s profile’s Summary tab. This allows you to see the workflow a customer would see.
Processing Transactions
To test payment on an invoice, check our module documentation and follow the necessary process for the gateway module you are using.
For example, PayPal Checkout requires you to log in as a client and pay from the Client Area by selecting the invoice itself, while Stripe™ requires you to capture payment against a stored card or pay method.
Checking Automation
You can find details on payments that the system has processed against an invoice at Billing > Gateway Log. The log will list the results and other data to allow you to validate success.
For domain registrars and provisioning modules, the Activity Log at Configuration () > System Logs will record success or failure of the associated automation actions. This log also records details from the invoice’s payment, like the addition of the transaction.
If automation encounters any errors, the Module Debug Log will report the sent request and received response, allowing you to determine the issue and resolve it.
Resetting Your Database
After you successfully test your WHMCS configuration, you may want to reset it in order to remove the test accounts, orders, invoices, and other items that you created.
You can empty all of the tables that contain client data by running the following SQL code on your database:
TRUNCATE `mod_invoicedata` ;
TRUNCATE `tblinvoicedata` ;
TRUNCATE `tblaccounts` ;
TRUNCATE `tblactivitylog` ;
TRUNCATE `tblaffiliates` ;
TRUNCATE `tblaffiliatesaccounts` ;
TRUNCATE `tblaffiliateshistory` ;
TRUNCATE `tblaffiliatespending` ;
TRUNCATE `tblaffiliateswithdrawals` ;
TRUNCATE `tblbankaccts`;
TRUNCATE `tblbillableitems` ;
TRUNCATE `tblcancelrequests` ;
TRUNCATE `tblclients` ;
TRUNCATE `tblclientsfiles` ;
TRUNCATE `tblcontacts` ;
TRUNCATE `tblcredit` ;
TRUNCATE `tblcreditcards`;
TRUNCATE `tblcustomfieldsvalues` ;
TRUNCATE `tbldomains` ;
TRUNCATE `tbldomainsadditionalfields` ;
TRUNCATE `tblemails` ;
TRUNCATE `tblhosting` ;
TRUNCATE `tblhostingaddons` ;
TRUNCATE `tblhostingconfigoptions` ;
TRUNCATE `tblinvoiceitems` ;
TRUNCATE `tblinvoices` ;
TRUNCATE `tblmodulequeue` ;
TRUNCATE `tblnotes` ;
TRUNCATE `tblorders` ;
TRUNCATE `tblpaymethods`;
TRUNCATE `tblquotes` ;
TRUNCATE `tblquoteitems` ;
TRUNCATE `tblsslorders` ;
TRUNCATE `tblticketlog` ;
TRUNCATE `tblticketnotes` ;
TRUNCATE `tblticketreplies` ;
TRUNCATE `tbltickets` ;
TRUNCATE `tbltodolist` ;
TRUNCATE `tbltransaction_history` ;
TRUNCATE `tblupgrades` ;
TRUNCATE `tblusers`;
TRUNCATE `tblusers_clients`;
TRUNCATE `tbluser_invites`;
Resetting your database only deletes client accounts and information. You will not lose any configuration or product settings.
Storage Settings and Test Environments
When you use local storage locations and are switching between development (test) or live environments, it’s important to update your storage settings. If the configured storage locations do not exist on your server, certain features (such as sending emails) may not function correctly.
Last modified: 2025 August 8