Sign In Using Google
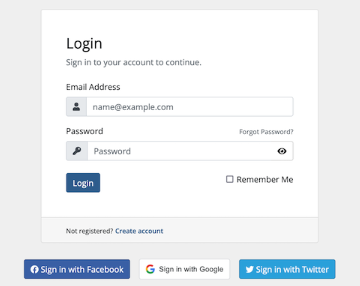
Google® Sign-In Integrations let your customers connect with Google to quickly sign up for an account or log in to the Client Area.
Configuring Sign-In with Google
To use sign-in integrations with Google, you must create a Google Developer Project and API credentials. You can do this using your existing Google account. Users will only see the app name that you define. They will not see anything relating to the account that you use to create the app.
To configure sign-in using Google on your WHMCS installation:
1. Create a Google Developer Project.
To create a Google Developer Project:
- Go to the Google Developer Console.
- Log in to your Google account.
- At the top of the page, click Select a project.
- Click New Project.
- Enter a project name.
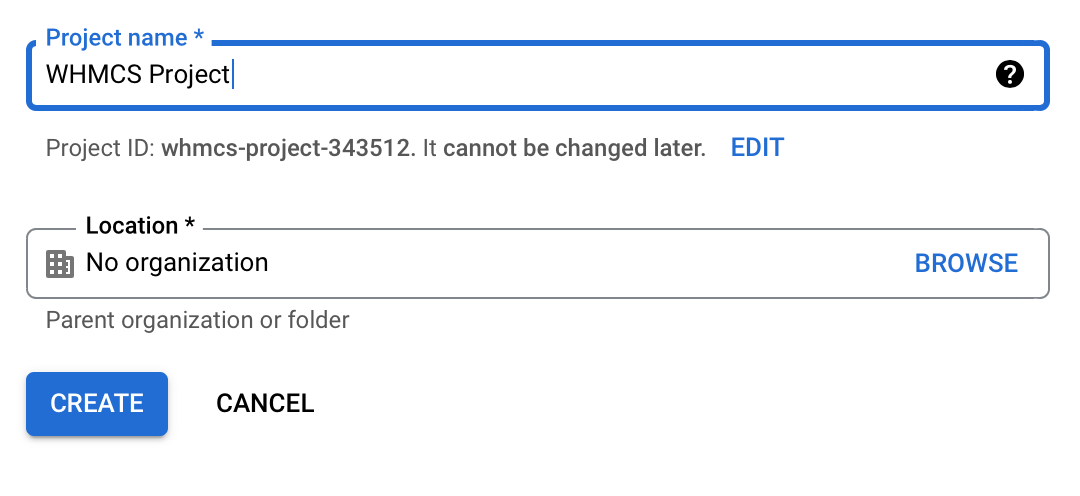
- Click Create.
- Select Credentials in the left sidebar.
- Click Create Credentials.

- Select OAuth client ID.
- Click Configure Consent Screen.
- Select External for User Type.

- Click Create.
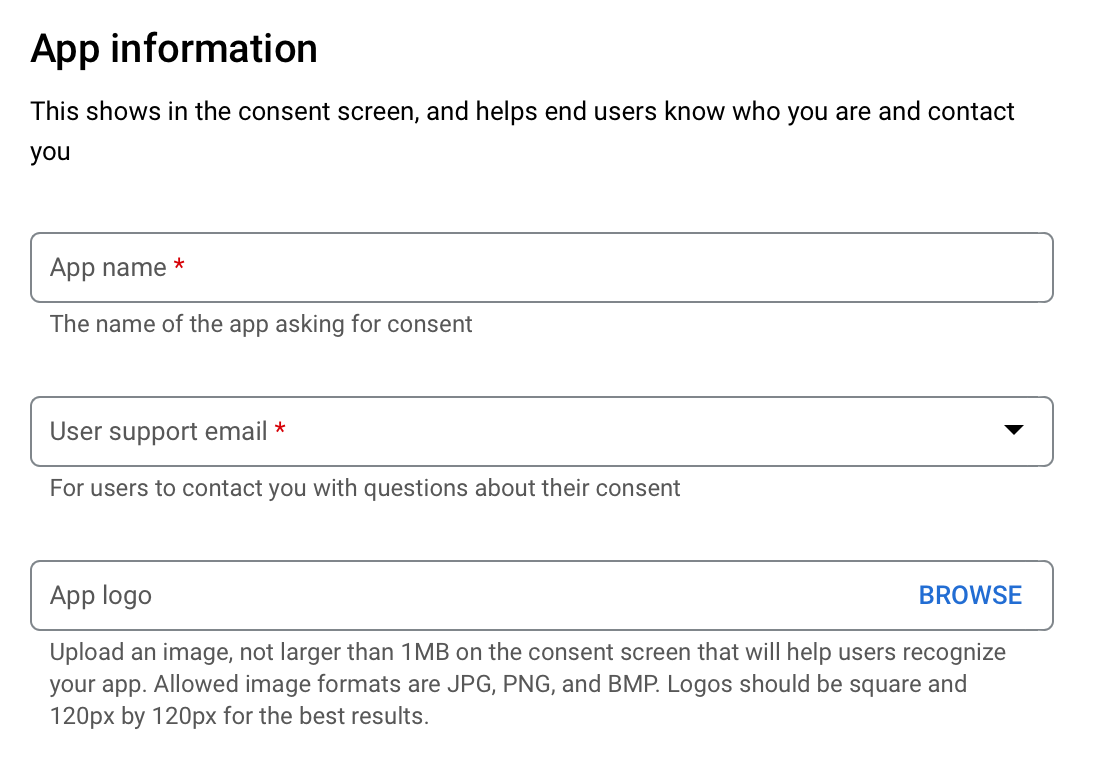
- Add the details for your app’s information.
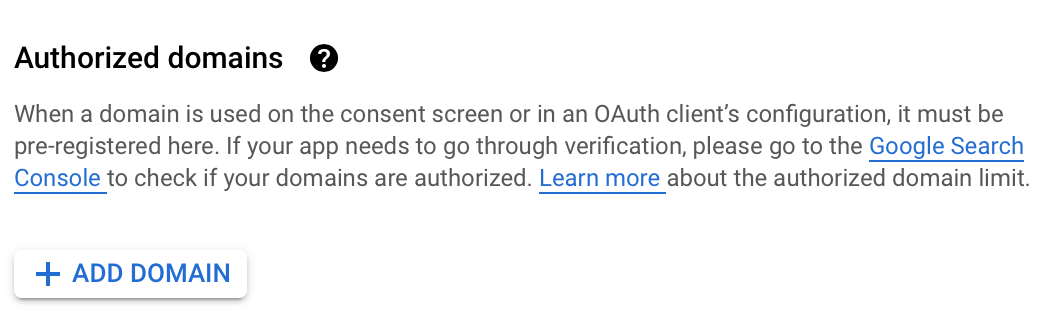
- Add an app domain.
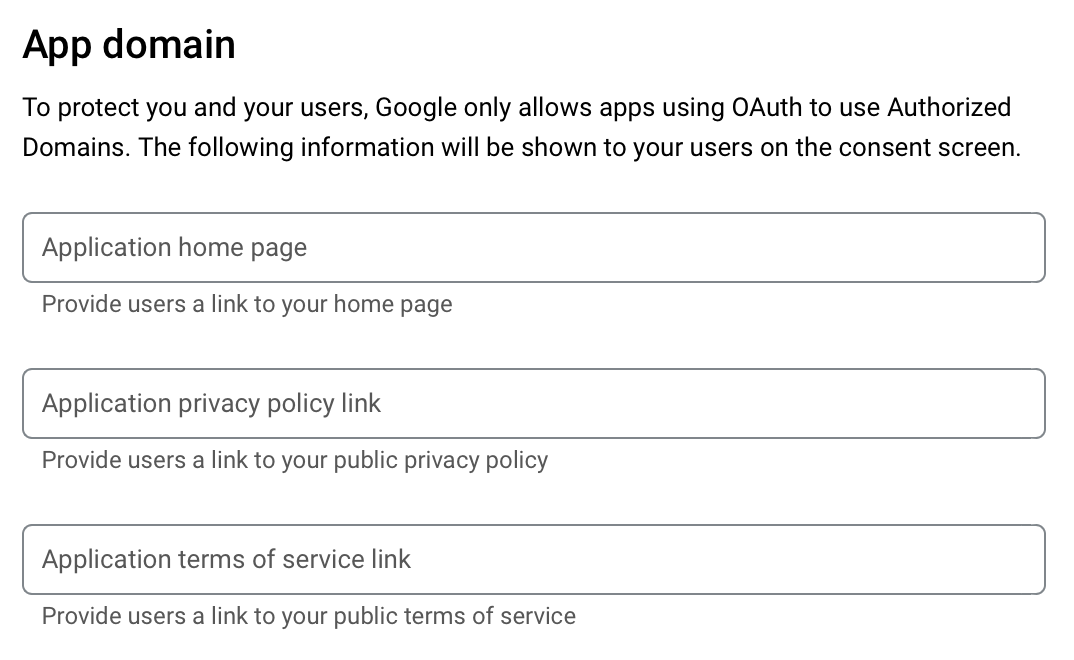
- For each domain that you want to authorize, click Add Domain under Authorized domains and configure the desired domains.
- Under Developer contact information, enter your email address.
- Click Save and Continue.
2. Create your credentials.
To create the credentials for your Google app:
- In the left sidebar, click Credentials.
- Click Create Credentials.
- Click OAuth client ID.
- Select Web application for Application type.
- Enter a name for your OAuth 2.0 client.
- Enter your full root domain in Authorized JavaScript origins.
- Enter your full root domain in Authorized redirect URI.
- Click Create.
3. Save your credentials.
Save the Your Client ID and Your Client Secret values that display in Google after you save your credentials:
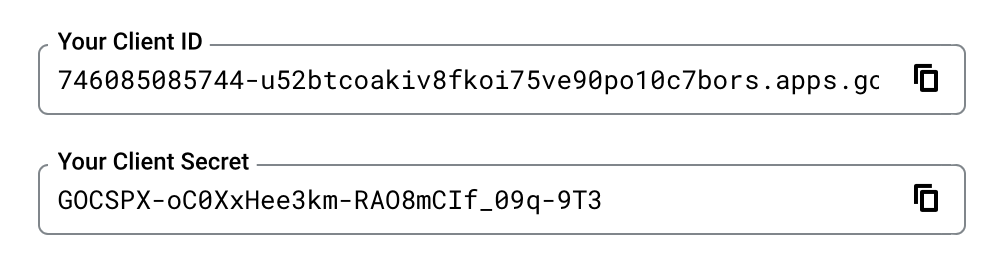
4. Configure the App in WHMCS.
To enable sign-in integrations with Google in your WHMCS installation:
- Log in to the WHMCS Admin Area.
- Go to Configuration () > System Settings > Sign-In Integrations.
- Select Activate under Google.
- Enter your credentials for Google Client ID and Client Secret.
- Click Save & Activate.
WHMCS will attempt to validate and test the details that you have entered. If the credentials are valid and successfully authenticate with the Google API, the system will save them.
Troubleshooting
You may encounter the following common issues:
| Error or Issue | Cause | More Information |
Remote account linking via Google has failed. Please make sure that the system clock is set properly | There is a problem with your system’s server time. | Google Remote Linking Failures |
Google Sign-In is unavailable at this time. Please try again later or Google Sign-In is unavailable at this time. Please try again later. Error: Not a valid origin for the client: http://example.com has not been whitelisted for client ID xxxxx | Your app configuration in Google® is invalid or Google is accessing WHMCS using the wrong URL. | Google Sign In Unavailable Errors |
Verification for current settings failed validationResponse: {valid:false} | The Authorized JavaScript Origins and Authorized redirect URIs settings are incorrect or the WHMCS System URL setting is using an insecure http:// connection. | Google Verification Failures |
Invalid details not saved. Please verify your details and try again. | Your API credentials or callback URLs are invalid or there is a problem in your Authorized JavaScript Origins configuration. | Invalid Details Errors |
Social login: Error We could not connect to your account | There is a problem in your system theme template. | Social Login Errors |
| You are unable to access the Sign-In Integrations settings in the Admin Area. | Your administrator role does not have the required permissions or there is a problem with your Friendly URLs configuration. | Unable to Access Sign-In Integrations |
Last modified: 2026 April 30