Predefined Replies
Predefined replies let your staff give quick answers to common questions in support tickets. This allows your staff to spend their time on the tickets that need it most. It also ensures that the information you give is complete, accurate, and consistent every time. Predefined replies and categories are only visible from within the Admin Area.
You can access this feature at Support > Predefined Replies.
Categories
Before you can add a predefined reply, you must add a category to store it in. To do this, click Add Category, enter a name, and click Add Category.
To edit a category, click the edit icon next to its name, update the information, and click Save Changes.
Predefined Replies
To create each predefined reply, click Add Predefined Reply, enter a name, click Add Article, and then enter and save the desired reply.
Click Preview to view the formatted message.
To edit a predefined reply, go to the category that will store your predefined reply by clicking category names. Then, click the name of the reply, edit it, and click Save Changes.
Markdown Editor
You can use WHMCS’s built-in markdown editor to format your text. The markdown editor supports bold text, italics, headings, bulleted and numbered lists, code blocks, and quotes:
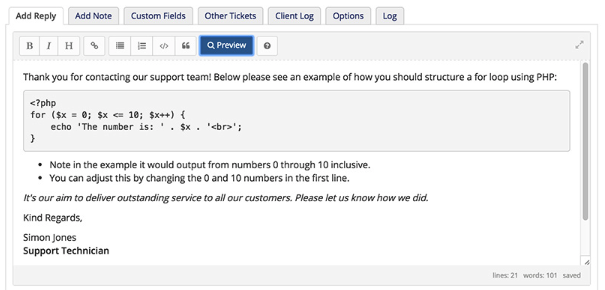
Click the Help icon in the editor toolbar to view a markdown guide.
Merge Fields
Predefined replies support the use of merge fields using the same method as in individual ticket replies.
By default, support ticket replies can use the following merge fields:
[NAME]— The ticket submitter’s full name.[FIRSTNAME]— The ticket submitter’s first name.[EMAIL]— The ticket submitter’s email address.
[FIRSTNAME]) with the client’s data (for example, Cassidy) when you enter it. You can also use some custom fields as merge fields.Last modified: 2026 April 30