MailChimp
MailChimp® is an email marketing and automation platform. It is free to use for up to 2,000 subscribers and allows up to 12,000 emails per month.
The WHMCS MailChimp integration uses MailChimp’s e-commerce API to synchronize customer, order, and abandoned cart data with your MailChimp account. This allows you to use MailChimp to set up manual and automated campaigns.
This includes:
- Thank you messages to new customers.
- Automated followup messages on abandoned carts.
- Onboarding or drip-feed campaigns to new customers.
- Attempts to recapture lapsed customers who haven’t bought anything recently.
- Rewards for your best customers (based on order count or total spent).
Activation
Because this addon module ships with WHMCS by default, you only need to create a Mailchimp account and activate the addon through the Admin Area.
To do this:
- If you do not yet have a MailChimp account, create one for free.
- Go to Configuration () > System Settings > Addon Modules.
- Click Activate for MailChimp.
- Click Configure.
- Select the admin role groups that will have access to this addon module.
- Click Save Changes.
- Log in to MailChimp.
- Click the icon next to your name at the bottom left of the page.
- Select Account & billing.
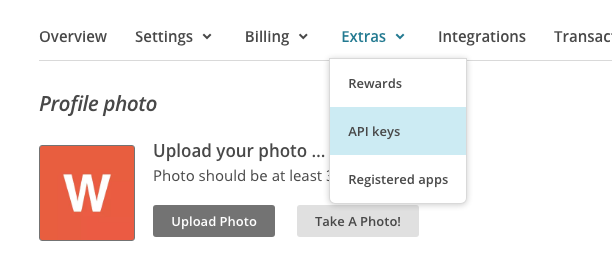
- Select Extras > API keys.
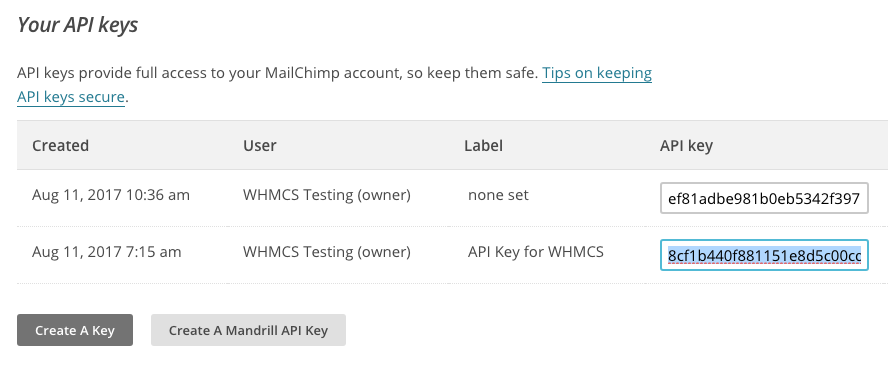
- Click Create A Key.
- Copy the key to your clipboard. We also recommend giving the API key a label in your MailChimp account (API Key for WHMCS in the example below).
- Go to Addons > MailChimp.
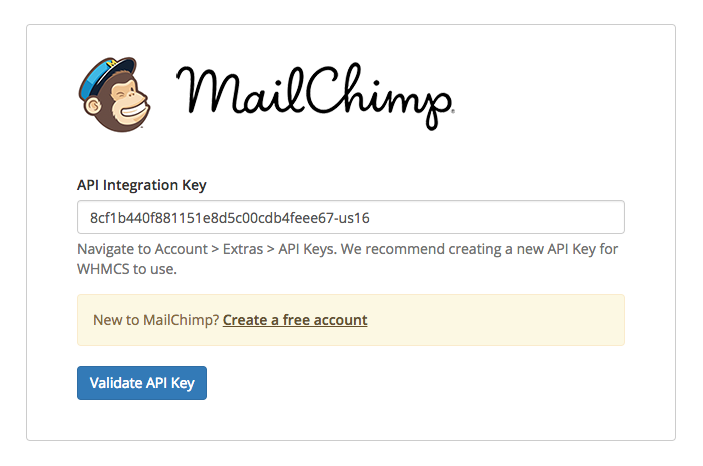
- Enter the API key in WHMCS. You will see this screen the first time you access the MailChimp addon after activating it.
- Follow the instructions to finish the setup process.
Creating an Automated Campaign
To create an automated campaign:
- Log in to your MailChimp account.
- Go to Create > Automations.
- Click Get Started.
- Click Check out Classic Automations.
- Choose E-Commerce.
- Select your desired email from the list of premade options or click Custom to create a new campaign using advanced mode. For example, to create an onboarding automation for new customers:
- Select Follow up on purchases. This option sends email after an applicable purchase according to your settings.
- Select Product category. This option only sends email for purchases of specific types of product.
- Enter a name for your new automation (in this example,
Follow up on SSL purchase). - Choose the mailing list that you connected with your WHMCS installation. The campaign overview will appear.
- Click Edit next to the trigger to choose the applicable product category.
- Click Save.
- Design your campaign’s emails. You must create at least one.
Working with Customers
New Customers
New customers will be added to MailChimp with their opted in or out status according to their marketing email selection during account creation (via the registration page or when placing their first order).
Importing Existing Customers
The MailChimp WHMCS integration will track customer signups and e-commerce transactions immediately after activation. To add your preexisting customers to your MailChimp mailing list, you can perform an import.
To do this:
- Go to Reports > Reports in the WHMCS Admin Area and click More.
- Under Exports, click Clients.
- Select the data to export. We recommend exporting First Name, Last Name, Company Name, and Email Address.
- Click Filter to generate the report.
- In the top-right corner, click Tools and choose Export to CSV. This allows you to download a list of your customers in the CSV format.
- Go to MailChimp.
- Go to Lists and choose the list you want to import customers to.
- Go to Add contacts > Import contacts.
- Choose the CSV or tab-delimited text file option.
- Click Next.
- Follow the displayed instructions to upload the CSV export and complete the import process.
Troubleshooting
Last modified: 2025 November 27