Log In to the Admin Area
The WHMCS Admin Area lets you configure WHMCS, manage orders, work with clients and their services, and perform many more actions while running your business.
- If you use WHMCS Cloud, you must complete the signup process for WHMCS Cloud and receive your WHMCS Cloud URL before the first admin logs in for the first time.
- If you use a self-hosted WHMCS installation, you must finish the installation process and configure the WHMCS cron job before the first admin logs in for the first time.
- If you experience problems logging in, you can request a password reset. If problems continue, the system may ban your IP address due to multiple failed login attempts.
For steps to accept a new admin invitation and set up login credentials, see Accept an Admin Invitation.
Log In to the Admin Area
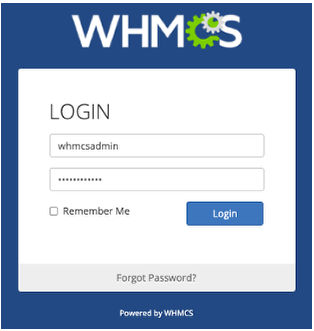
To log in to the WHMCS Admin Area:
1. Go to the Admin Area login page.
Go to example.com/whmcs/admin, replacing example.com/whmcs/ with your WHMCS URL.
- For WHMCS Cloud, this is the URL that you received when you set up WHMCS Cloud.
- For self-hosted WHMCS installations, this is the URL at which you installed the software (for example,
https://www.example.com/whmcs/admin) and the credentials that you created during the installation process.If you have followed the recommended security steps, you will need to use the custom name you have set up.
2. Enter your credentials.
Enter your admin username and password.
If you are logging in to WHMCS for the first time:
- For WHMCS Cloud, these are the credentials that you configured when you set up WHMCS Cloud.
- For self-hosted WHMCS installations, these are the credentials that you created during the installation process.
3. Log in.
Click Login.
Next Steps
After you log in, you will see the Admin Dashboard and can begin using the Admin Area.
The first time that you successfully log in to a new WHMCS installation, you will see the Getting Started Wizard. Use these steps to quickly configure some of WHMCS’s most important features.
Last modified: 2025 November 27