Captcha Protection
We strongly recommend that you update your settings to use reCAPTCHA v3 or hCaptcha®. These captcha options include enhanced protection against automated captcha solvers.
- For steps to switch to reCAPTCHA v3, see Enable reCAPTCHA v3 below.
- For steps to switch to hCaptcha or Invisible hCaptcha, see Enable hCaptcha.
Preventing bots from accessing your website and store is challenging but vital for your business. Various verification methods can help you achieve this, with varying levels of accuracy for you and difficulty for your customers. Methods that are the most effective at catching bots can also create frustration for clients and cause you to lose of potential customers.
Captchas are one of the most popular methods of protecting against automated bot activity on sensitive pages.
Captcha Methods
Different captcha types verify whether a visitor is human in differing ways:
Verification Codes
Some captchas display a verification code as part of an image that is difficult for bots to read. The visitor must enter the displayed code correctly before they can continue using your site.
To use this type of captcha, select Default (6 Character Verification Code) for Captcha Type in the Security tab at Configuration () > System Settings > General Settings.
Checkboxes
Some captchas display a checkbox that the visitor must interact with before they can continue using your site. These captchas will analyze the behavior of the user before, during, and after checking the checkbox. If the captcha system can verify that the user is human, the visitor can proceed. Otherwise, a mobile-friendly verification tool like a verification code captcha or an image selection challenge will appear.
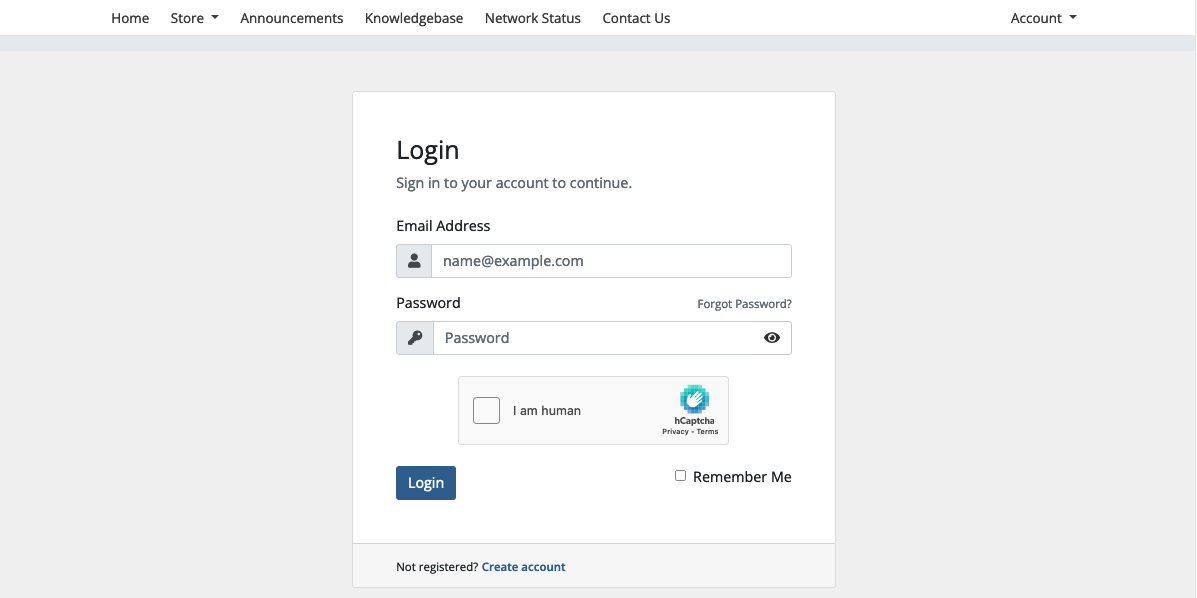
To use this type of captcha, select reCAPTCHA v2 or hCaptcha for Captcha Type in the Security tab at Configuration () > System Settings > General Settings.
Invisible Captchas
Invisible captchas analyze visitor behavior without requiring them to check a checkbox. These captchas will determine whether they can verify that the visitor is human based on their behavior on your site. If the captcha system can verify that the user is human, the visitor can proceed. Otherwise, a mobile-friendly verification tool like a verification code captcha or an image selection challenge will appear.
If you use an invisible captcha type, a logo indicating the use of invisible captchas will appear in the bottom corner of protected pages.
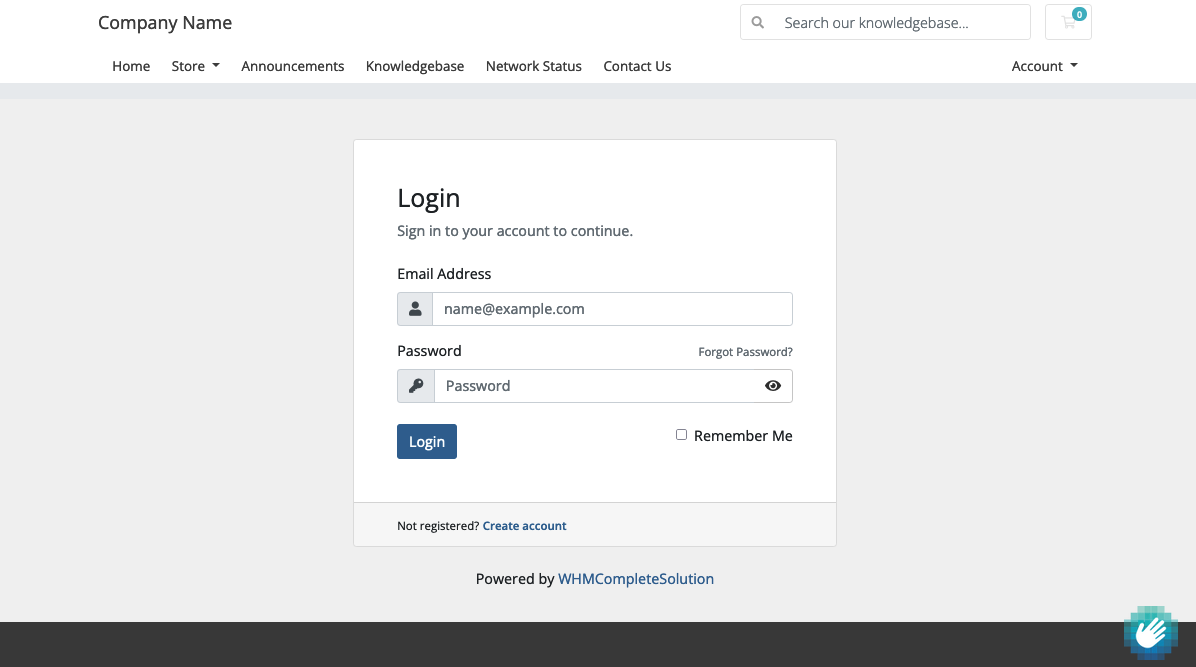
To use this type of captcha, select Invisible reCAPTCHA v2, reCAPTCHA v3, or Invisible hCaptcha for Captcha Type in the Security tab at Configuration () > System Settings > General Settings.
Enabling Captchas
To enable captcha protection in WHMCS:
- Go to the Security tab at Configuration () > System Settings > General Settings.
- For Captcha Type, select the desired captcha type.
- If you are using Google reCAPTCHA or hCaptcha:
- Configure your Google or hCaptcha account.
- Copy the Site Key and Secret Key from that account into WHMCS.
- For reCAPTCHA v3, hCaptcha, or Invisible hCaptcha captcha types, enter a score threshold value.
- For Captcha for Select Forms, select the locations in which you want to use captchas.
- Click Save Changes.
For specific steps for your desired captcha type, see:
Last modified: September 27, 2024