Get Started with WHMCS
Thank you for choosing WHMCS! Our simple setup process will help you get up and running fast.
- Using WHMCS Cloud?
This guide assumes that you have already completed the signup process for WHMCS Cloud and received your WHMCS Cloud URL. - Using a self-hosted WHMCS installation?
This guide assumes that you have already purchased a WHMCS license, completed the installation process, and taken our recommended steps to enhance your installation’s security.
Go through the list of steps below to get everything set up quickly and easily, including setting up the products you’ll sell, the way you’ll receive payments, and how you’ll offer quality support to your customers.
Log In to the Admin Area
To log in and get started, visit your WHMCS URL and enter your Admin Area username and password.
- For WHMCS Cloud, this is the URL that you received when you set up WHMCS Cloud.
- For self-hosted WHMCS installations, this is the URL at which you installed the software (for example,
https://www.example.com/whmcs/admin) and the credentials that you created during the installation process.
Getting Started Wizard
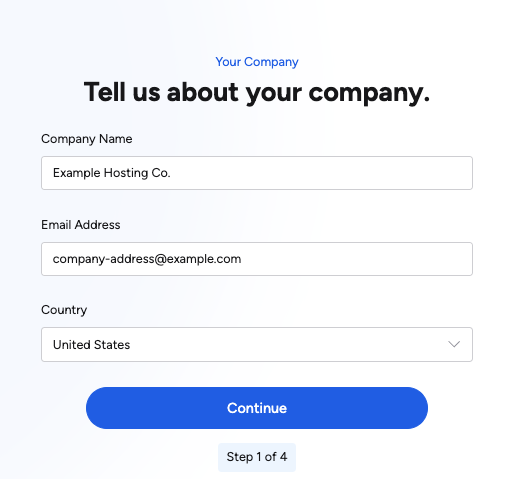
When you log in, you will immediately see the Getting Started Wizard. This easy-to-use tool helps you configure some of the most important settings in WHMCS.
The Getting Started Wizard allows you to quickly configure your settings for:
- Your company’s basic information, address, logo, and language options.
- Payment processing using PayPal Payments, Stripe, Bank Transfers, or Mail In Payments.
- Domain registration with Enom.
- Domain pricing for selected TLDs.
- Your first cPanel, Plesk, or DirectAdmin hosting server.
- The MarketConnect products that you want to sell.
Using WHMCS
After you complete the Getting Started Wizard, click Go to the Admin Dashboard to go to the Admin Area Dashboard.
Servers
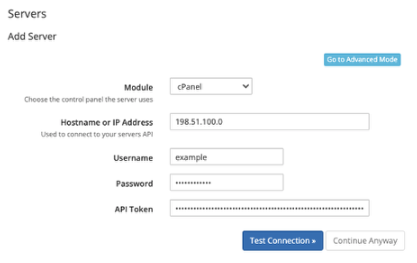
Servers host the domains and hosting packages that you sell to your customers.
- If you plan to offer hosting packages, you will need to add at least one server to WHMCS.
- Most WHMCS users will configure several servers for the products they offer.
- WHMCS includes server modules for many popular hosting control panels.
To set up your first server, choose the hosting control panel your server runs:
Products
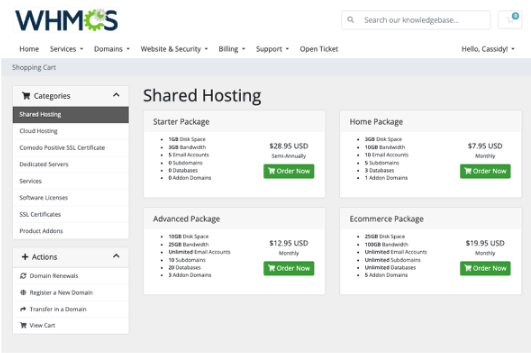
Products are the offerings you sell to your customers through WHMCS.
Your products can include hosting accounts, domains, software licenses, design services, support plans, MarketConnect services, or even physical goods.
When you configure products, you can choose your provisioning settings, the details that display in your store, the associated addons, and more.
Domain Registrations
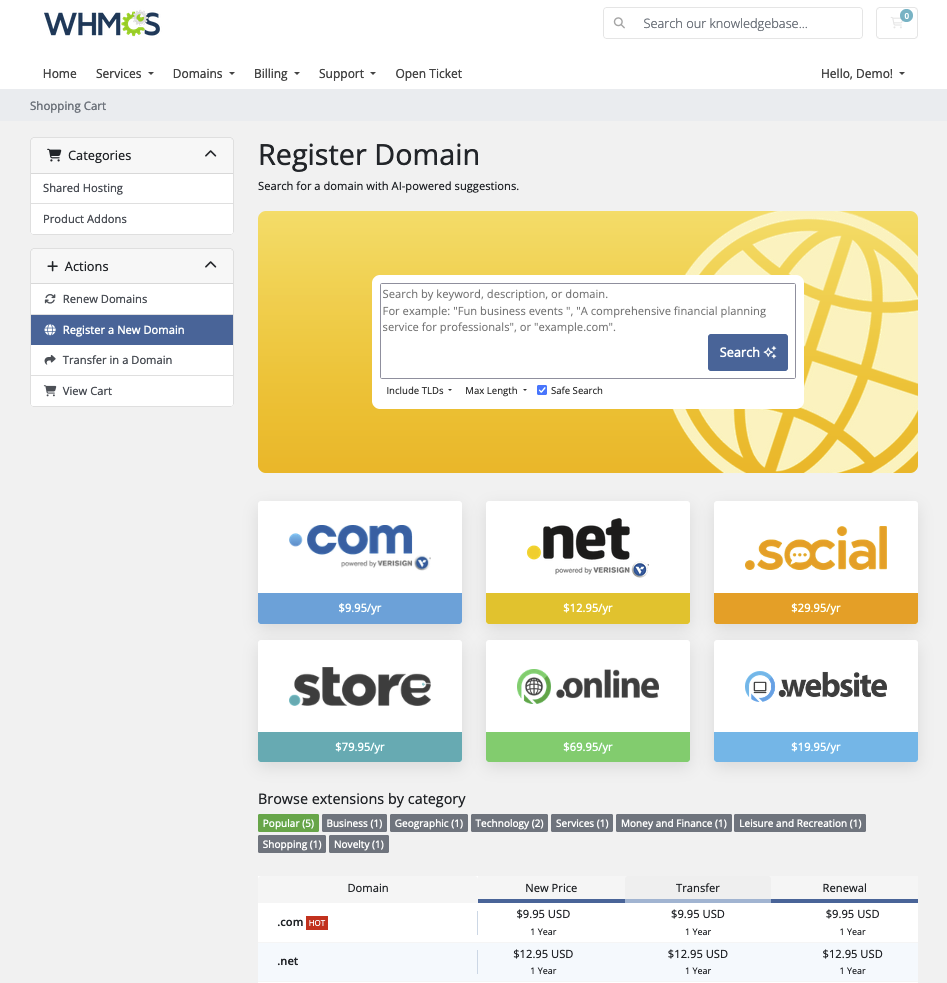
Domain registrations are easy to set up after you sign up with one of our many supported domain registrars.
In WHMCS, you can choose which TLDs you want to offer, set up pricing, and fine-tune the domain suggestions your customers see when they check for availability.
To start selling domain registrations, choose your domain registrar and set up your extensions and pricing:
Payment Gateways
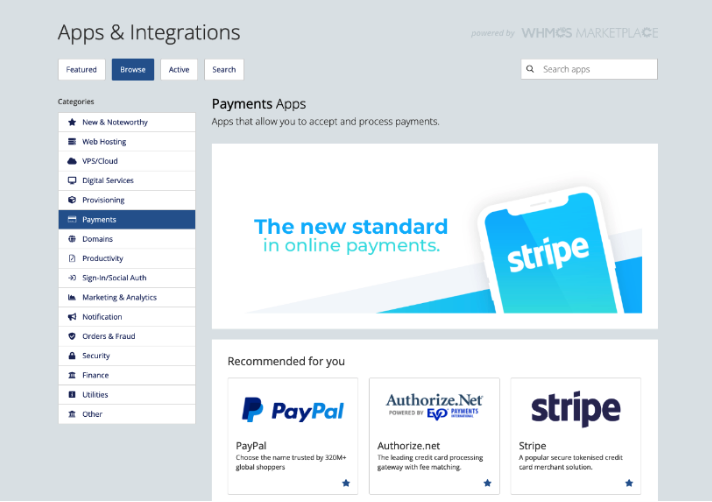
Payment gateways like PayPal® and Stripe™ process payments for you. Many of our supported payment gateways can also handle recurring payments, refunds, or unique checkout methods.
You need to set up at least one payment gateway before you can start selling in WHMCS. Even if you don’t want to process payments, we recommend setting up one of our manual gateways to use for automation.
Support Departments
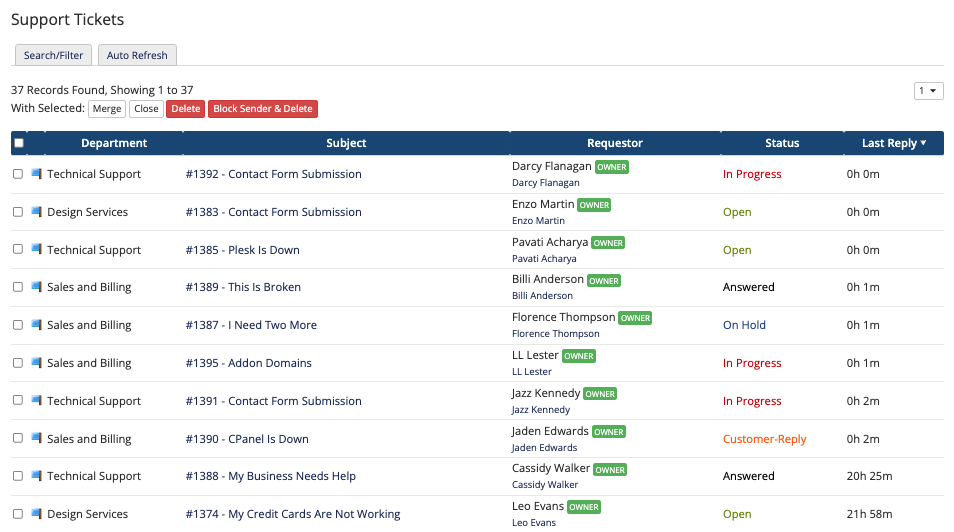
Support departments are the first step to setting up your support system in WHMCS. You will need to configure at least one, and most WHMCS users have several departments to separate ticket types.
After you set up your departments, you can configure WHMCS to handle emailed ticket replies, transition ticket statuses, and perform other automated tasks.
System Configuration
WHMCS has many available settings to configure WHMCS for your business’s needs.
The General Settings include configuration for the system’s mail provider, how it handles invoices, how it applies credit to user accounts, system localization, the customer ordering experience, and more.
Automation Settings
The Automation Settings allow you to configure all of WHMCS’s automated processes. This includes suspensions, unsuspensions, terminations, how far in advance the system generates invoices, and when the system sends overdue notices.
The system cron performs these tasks, but WHMCS offers many options for how it runs.
Next Steps
The steps above will produce a WHMCS system that’s ready to accept and provision your sales and help you meet your customers’ needs.
WHMCS has many more features that can help you fine-tune your system, making day-to-day operations easier and helping you grow your business. We encourage you to explore the many additional options available.
To start, try these next steps:
- Add an Admin
- Activate MarketConnect
- Start Selling MarketConnect Products
- Customize Your Logo
- Start Selling WordPress
- For self-hosted WHMCS installations, Configure Your Update Channel
Last modified: 2025 December 16