Configure Usage Billing
WHMCS allows you to bill clients according to the resources they consume (for example disk space, bandwidth, number of domains, or email addresses). You can use this feature with cPanel & WHM, DirectAdmin, and Plesk servers.
Configure Usage Billing
To configure usage billing:
1. Create or edit a product.
Go to Configuration () > System Settings > Products/Services.
Choose Create a New Product or click Edit for an existing product. If you are creating a new product, specify the product type, group, and product name, and other information.
2. Choose a module.
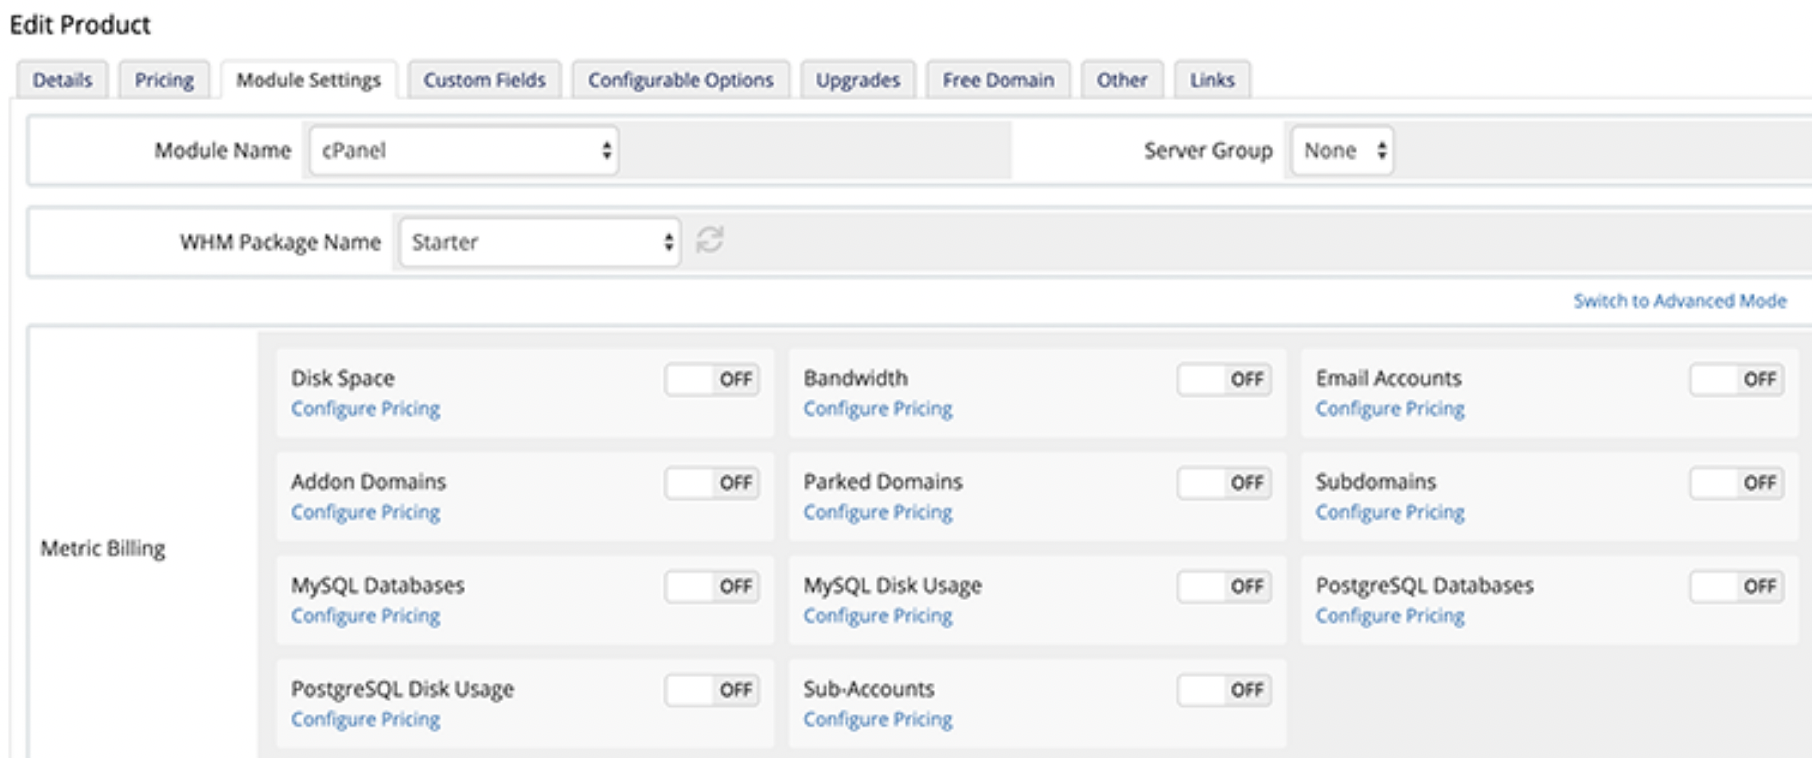
Choose the Module Settings tab.
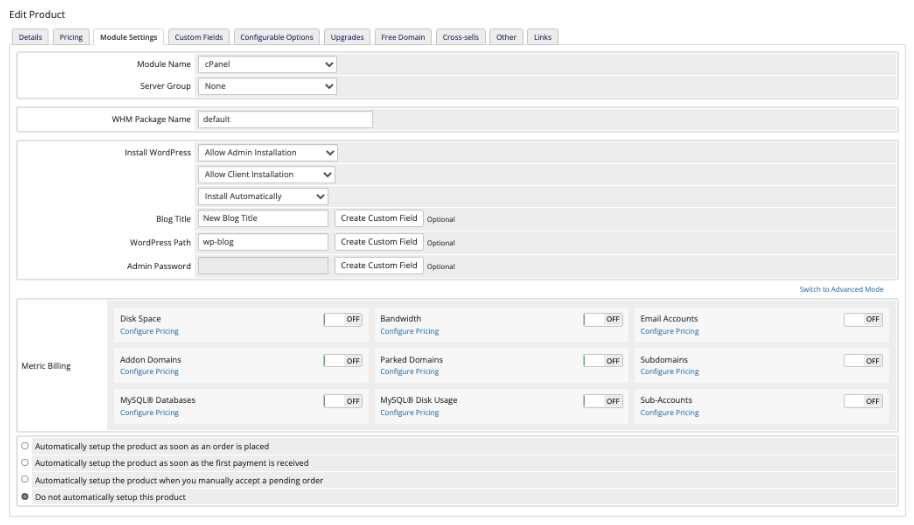
Choose the module to use with this product. You can configure usage billing for the cPanel, DirectAdmin, and Plesk modules.
3. Configure module settings.
Configure any module-specific information. For example, for the cPanel module, select the WHM Package Name to use with this product.
4. Configure each metric.
For each metric to bill based on usage:
- Toggle the metric to On.

- Click Configure Pricing. The Configure Pricing box will appear.
- Configure the price according to your needs. For example, you could configure the following pricing:
- Select Per Unit and enter
1.00to charge$1.00for every GB of bandwidth the client consumes each month.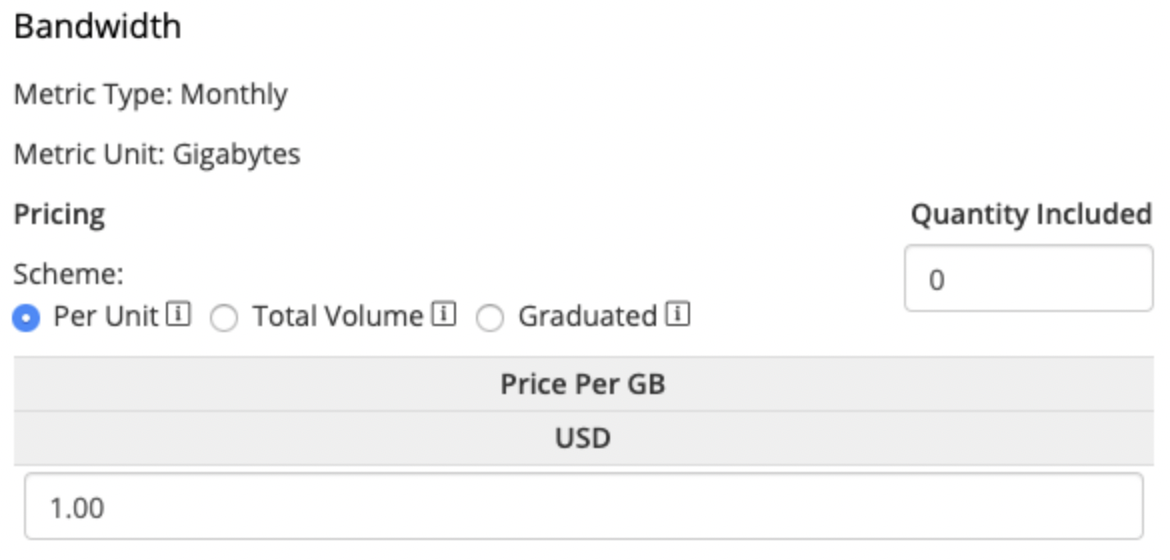
- Select Total Volume and add ranges to charge
$1.00for every GB of bandwidth up to 10GB and$0.50for every GB they consume above 10GB (a bulk discount).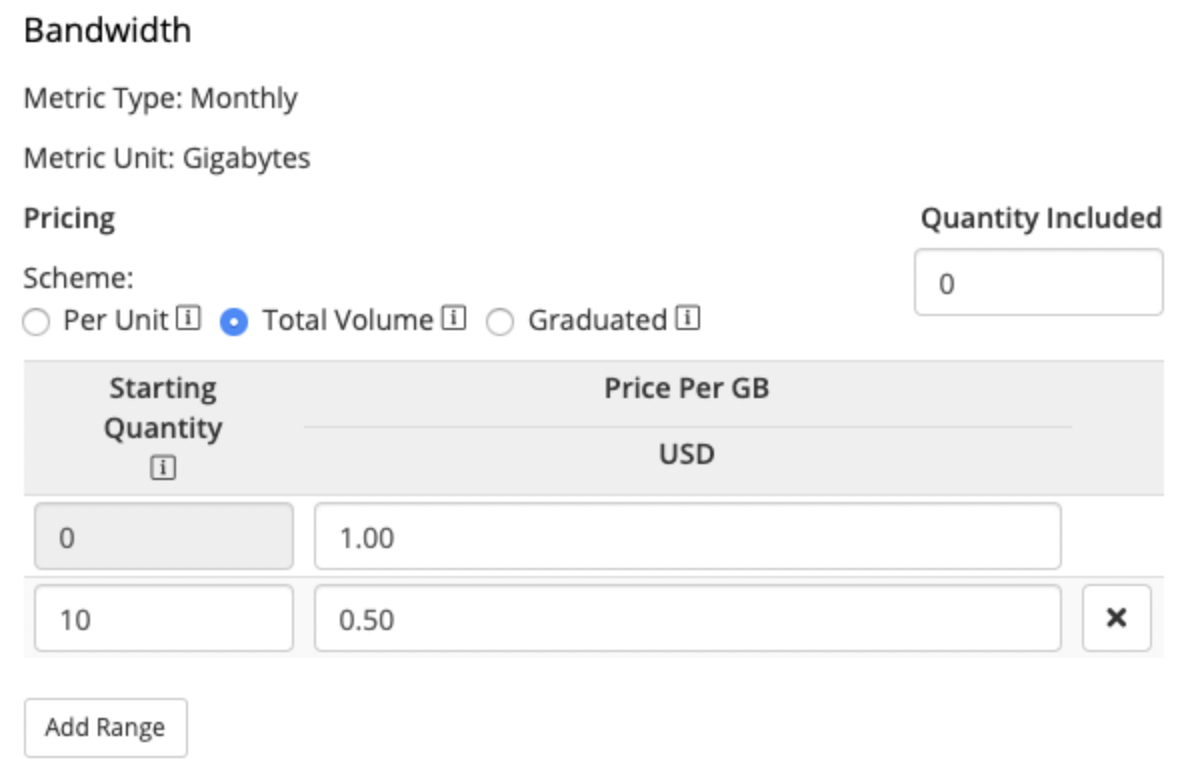
- Select Quantity Included and enter
1.00to charge$1.00for every GB of bandwidth that the client consumes above 10GB.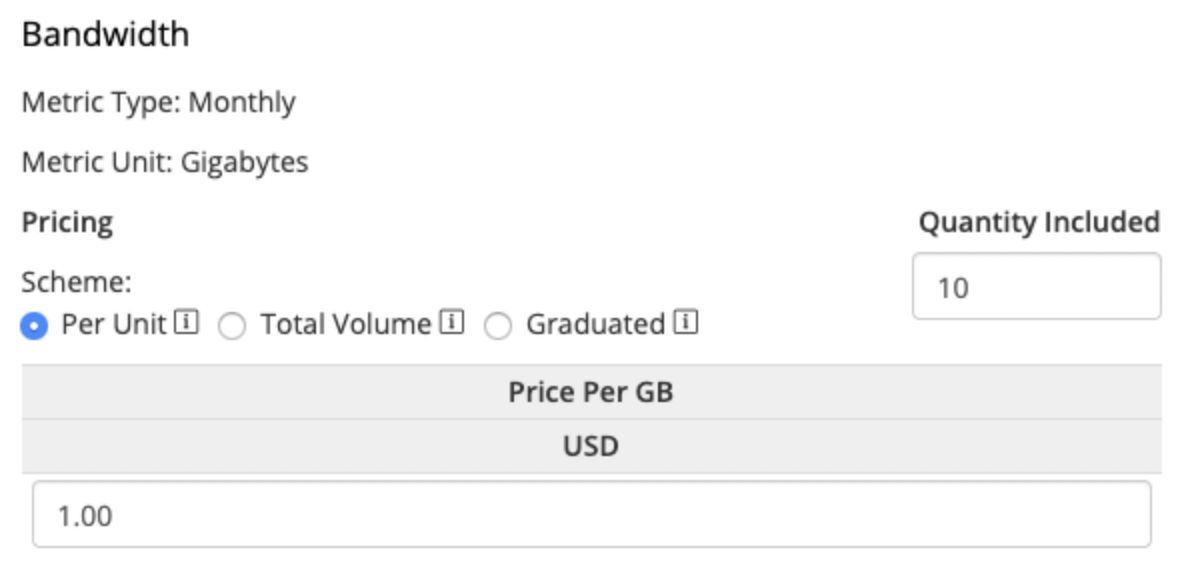
- Select Per Unit and enter
Then, click Save.
5. Save your changes.
Click Save Changes.
Last modified: 2025 July 28