WHMCS Connect
WHMCS Connect allows you to access the control panels for all configured servers that use supported control panels. This allows you to work with these servers without the need to reauthenticate.
You can access this feature at Utilities > WHMCS Connect.
- Currently, you can use cPanel & WHM with Single Sign-On.
- This feature supports the Firefox® and Safari® browsers. Chromium-based browsers browsers (for example, Chrome™) are not supported.
Using WHMCS Connect
The menu at the top-right of the interface provides a list of all servers that support Single Sign-On. Select one from the menu to connect.
When you choose a server from the menu, WHMCS will securely communicate via the API to establish a session and load the control panel interface in the lower frame. If a session cannot be established successfully, you will receive an error message.
Disable Use X-Frame-Options
To do this in cPanel & WHM:
- Log in to WHM.
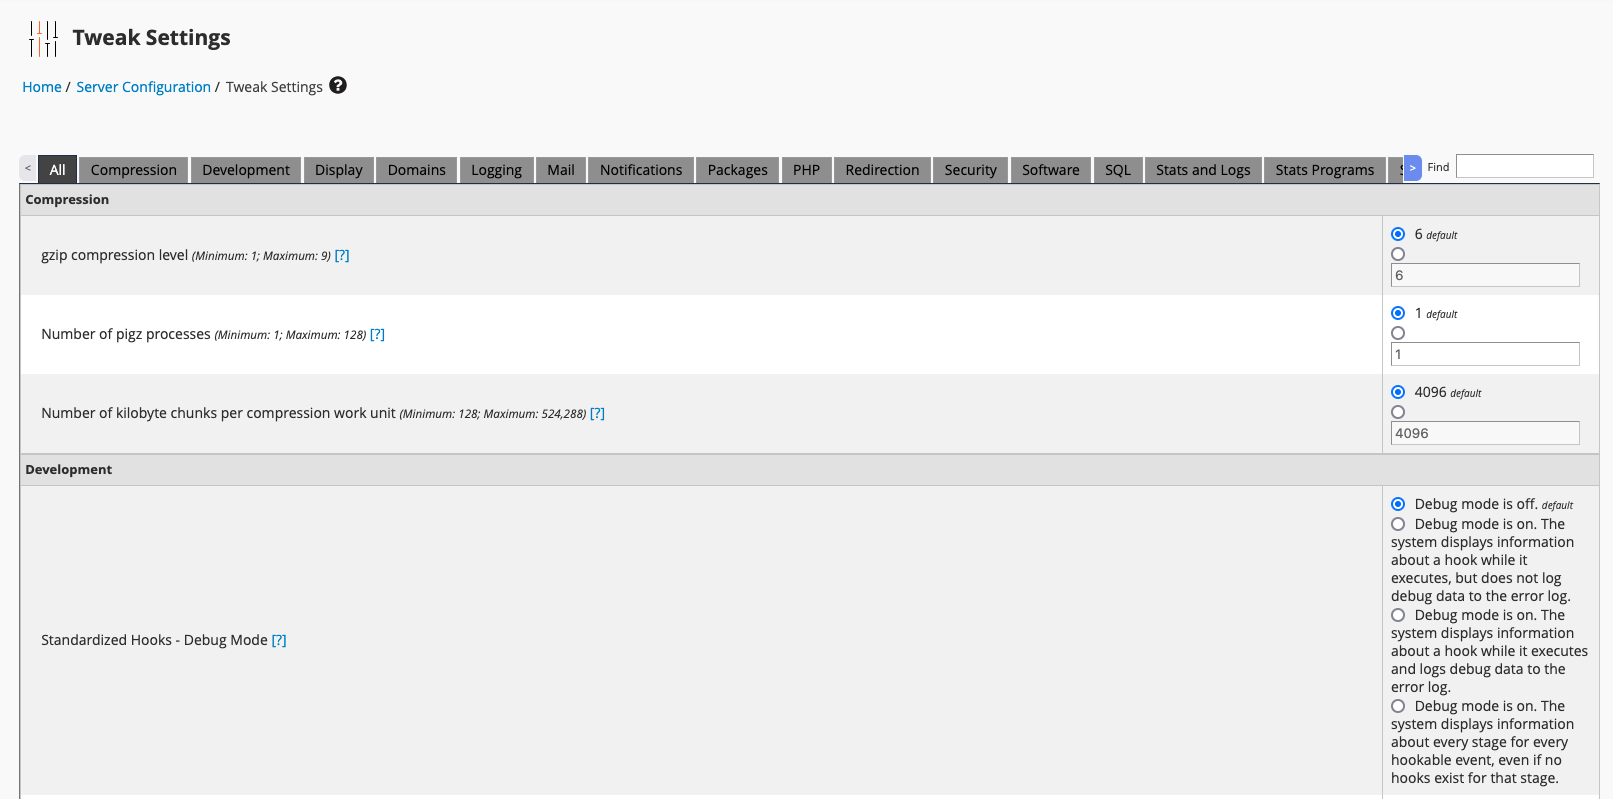
- Go to WHM » Server Configuration » Tweak Settings.

- Set Use X-Frame-Options and X-Content-Type-Options headers with cpsrvd to Off.

- Click Save.
Permissions
Several sets of permissions control access to WHMCS Connect servers.
Admin Role Groups
Access to WHMCS Connect requires the WHMCS Connect admin role group permission. By default, only Full Administrator admins have access to WHMCS Connect.
Per Server and Per Admin User Group
You can grant access to Single Sign-On functionality on a per-server and per-admin group basis. For example, you can allow users in Admin Role Group 1 to perform Single Sign-On for servers 1 and 3, while users of Admin Role Group 2 can only perform Single Sign-On to server 2.
By default, all admins can perform Single Sign-On into any server in WHMCS. However, Single Sign-On is only available through WHMCS Connect or at Configuration () > System Settings > Servers.
To configure permissions for a server:
- Go to Configuration () > System Settings > Servers.
- Edit the desired server.
- Under SSO Access Control, set Access Control to Restricted. A list of admin role groups will appear.
- Select the admin role groups that you want to grant permission to.
- Save your changes.
Last modified: 2025 July 28