Set Up Email Importing - Google
WHMCS can import email through several different service providers, including POP3 or IMAP, Google®, and Microsoft®. Google and Microsoft include the benefits of OAuth2, which provides more security than traditional username-and-password authentication.
- Email piping and email importing use separate configurations and are distinct methods of retrieving email replies.
- Email importing is available on both WHMCS Cloud and self-hosted WHMCS installations. Email piping is only available for self-hosted WHMCS installations.
- Email importing is part of our support ticket system and does not impact how your WHMCS system sends mail to admins and clients. For steps to configure system mail with Google, see Use Google for System Mail.
Set Up Email Importing with OAuth2 and Google
To set up email importing using Google, you will need to configure a Google Cloud® console app, create a client ID, and then set up Gmail™ in WHMCS.
1. Create Your Google Application
If you have already used Google Cloud’s console, you may not need to perform some of these steps, or interfaces may not look like the screenshots below.
To create a Google Application:
- Go to the Google Cloud console. If you haven’t before, select your country and agree to Google’s Terms of Service.
- Go to APIs and Services > Credentials.
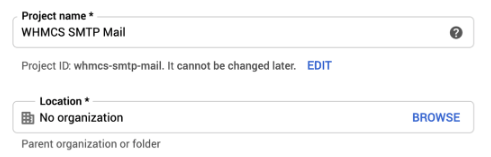
- In the top-right corner, click Create Project. Enter a Project Name and choose a Location. Then, click Create.
- Click Create Credentials and select OAuth client ID.
- Click Configure Consent Screen.
- Select External for User Type, and then click Create. This indicates that anyone can use the generated client ID after a verification process. However, when creating a client ID that’s only for use with WHMCS, you do not need verification.

- Enter the information on the OAuth consent screen. Use the default Scopes, and make sure to add your WHMCS domain to the list of Authorized domains.
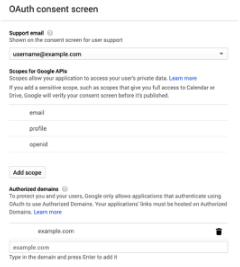
- Click Save.
2. Create the Client ID.
To create the client ID:
- In the Google Cloud console’s left sidebar, click Credentials.
- Click Create Credentials and select OAuth client ID again.
- For the Application Type, select Web Application.
- Enter a name for your application.
- Under Authorized redirect URIs, click Add URI.
- Enter the Redirect URL that displays in the WHMCS Admin Area at Configuration () > System Settings > Support Departments.
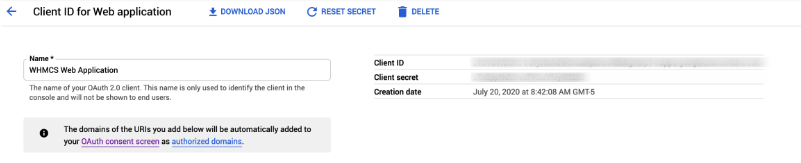
- Click Create. A confirmation message will appear, with the Client ID and Client Secret to use in the steps below.
3. Set up Gmail in WHMCS
To set up importing with Gmail:
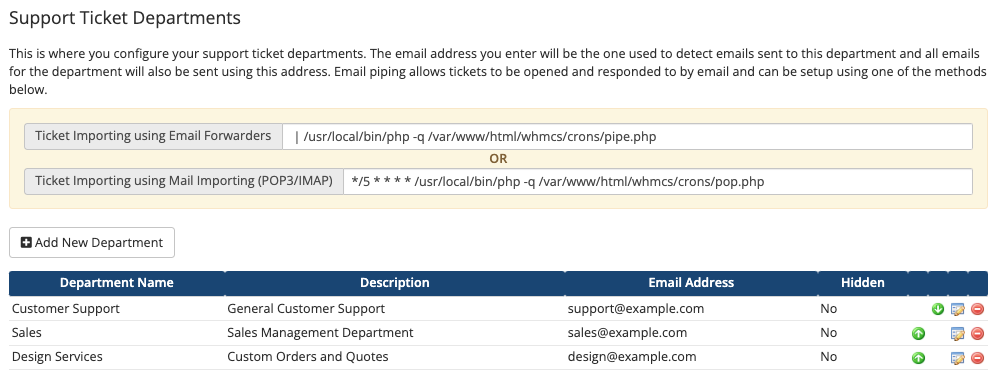
- Go to Configuration () > System Settings > Support Departments.
- Create a new department and enter the top section of information or, for existing departments, click Edit.
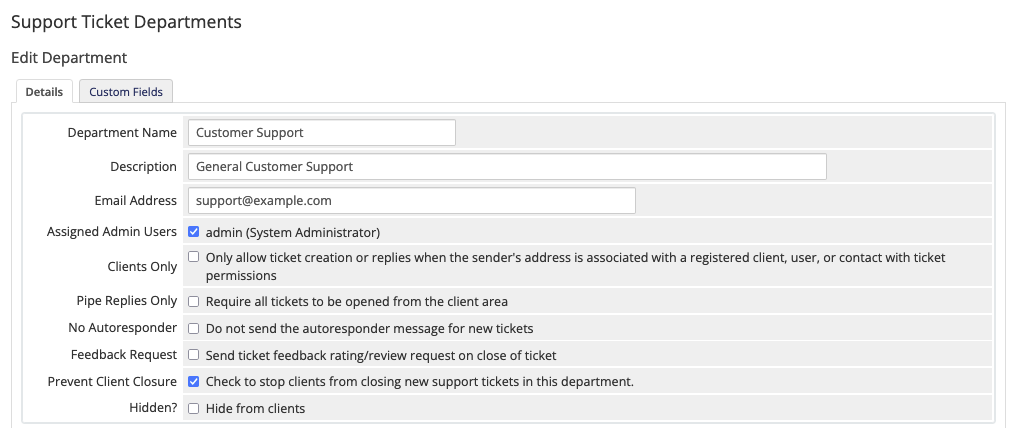
- Under Mail Importing Configuration, select Google for Service Provider.
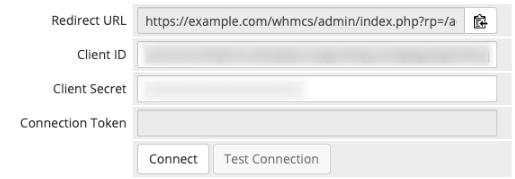
- Copy-and-paste the Client ID and Client Secret from the Google Cloud Console into the appropriate boxes. These will display in the confirmation message, or you can go to Credentials and click the edit icon for the appropriate OAuth 2.0 Client IDs.

- In WHMCS, next to Connection Token, click Connect. (There should not be a value in Connection Token yet.)
- In the Google Choose an account screen that appears, select the account that you used to create the app.
- Follow the prompts to approve access for your account.
- If you see a This app isn’t verified. error, click Advanced and then click Go to at the bottom of the window.
- When you finish this, WHMCS will automatically enter a token in Connection Token.
- Click Save. The system will test your configuration again when you save, and then you will be ready to start using email importing.
- If you use a self-hosted WHMCS installation, set up a cron job to run the
pop.phpfile using the Ticket Importing using Mail Importing (POP3/IMAP) command that displays at Configuration () > System Settings > Support Departments.
We recommend that you set this to run every five minutes.If you use WHMCS Cloud, the system configures this cron job for you automatically.
Last modified: 2026 January 20