Customize Email Templates
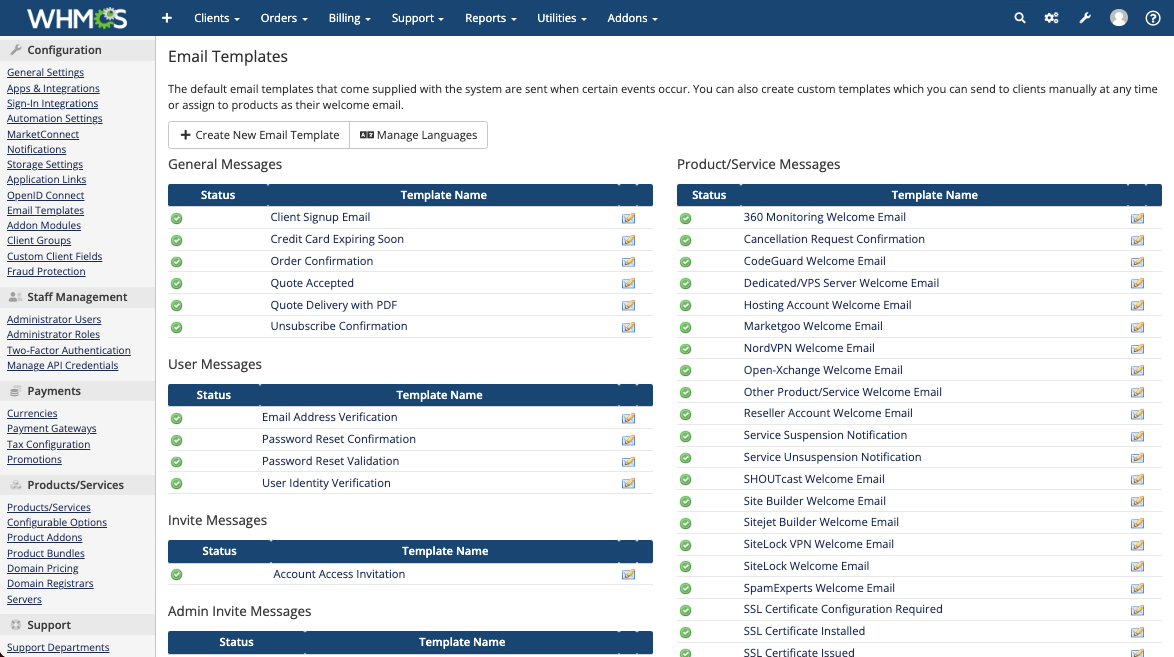
You can customize any of the emails that your WHMCS installation sends to your customers. WHMCS sends email whenever specific actions occur, and each action has an associated email template that you can customize from within the Admin Area.
- For more information, see Email Templates.
- These steps customize the default version of the email template, which the system sends for your installation’s default locale and any locales for which you have not localized the email template. For steps to enable customizing email templates in other languages, see Localize Email Templates.
Customize an Email Template
To do this:
1. Edit the desired email template.
Go to Configuration () > System Settings > Email Templates.

Click on the name of the email template that you want to edit, or click the edit icon. The email template will open in an editor window.

2. Update the email’s header information.
In the first section of the email template editor, you can update the sender’s name and email address, add CC or BCC recipients as a comma-separated list, and choose whether to send the email as plain text.
You can also attach files by clicking Choose Files and browsing to the file that you want to attach. Click Add More to attach more than one file.
3. Update the email subject.
Optionally, enter a new subject for Subject.
4. Update the email body.
Make the desired changes to the email contents.
- Click Enable/Disable Rich Text Editor to change between rich text editor and HTML view.
- WHMCS’s email templates use the Smarty syntax.For more information, see our Developer Documentation.
- You can use merge fields to add variables that the system replaces with the user’s data when it sends the email. You can view a list of available merge fields for the email template that you are editing under the editor window.
4. Save changes.
Click Save Changes.
Last modified: 2025 July 28