Use Google for System Mail
You can choose from several supported mail providers to handle mail for your WHMCS installation. To configure Google, you will need to create an app in the Google Cloud console and configure SMTP as your mail provider.
Your mail provider configuration is separate from any email piping or importing that you configure for your support departments. For more information, see Email Piping and Email Importing.
Set Up Google as your Mail Provider
To configure the mail provider:
- In the Admin Area, go to the Mail tab at Configuration () > System Settings > General Settings.
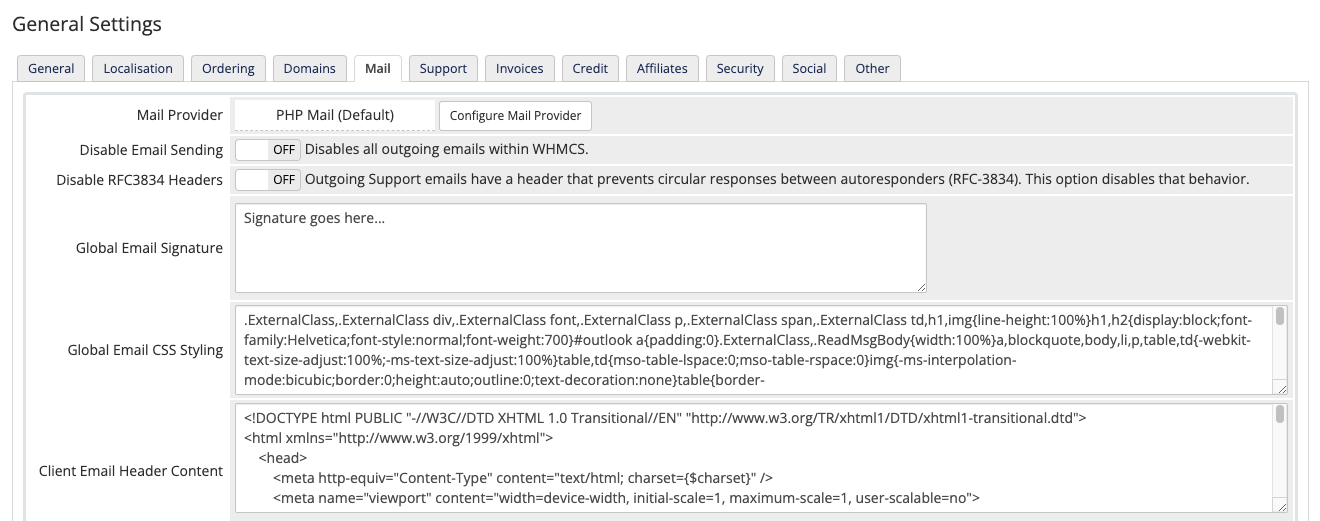
- Next to Mail Provider, click Configure Mail Provider.
- Select SMTP for Mail Provider.
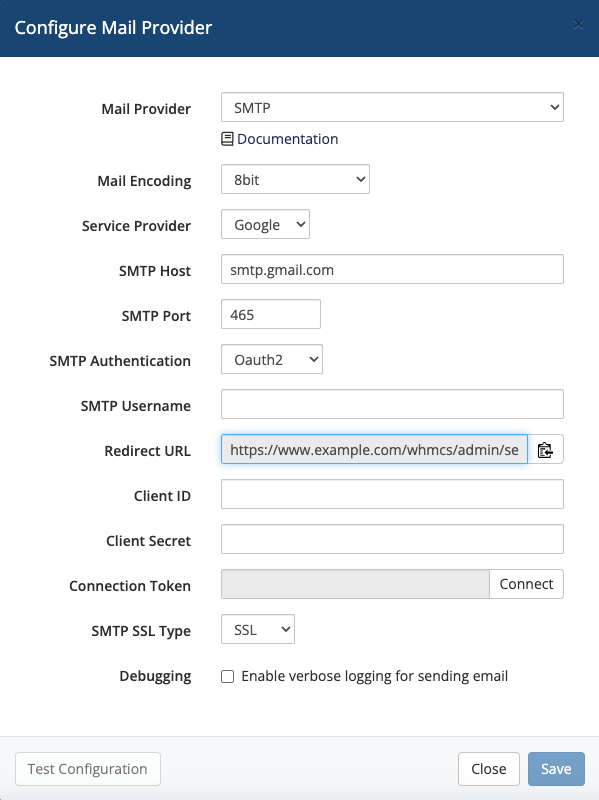
- Select a value for Mail Encoding.
- Select Google for Service Provider.
- Enter
smtp.gmail.comfor SMTP Host and465for SMTP Port.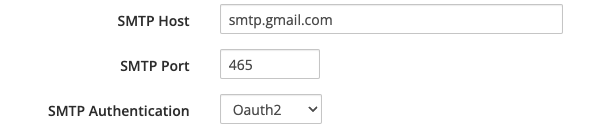
- Select Oauth2 for SMTP Authentication.
- For SMTP Username, enter the Gmail™ address that you will be using in your application.For steps to generate the Client ID and Client Secret in Google, see the Create your Google Application section below.
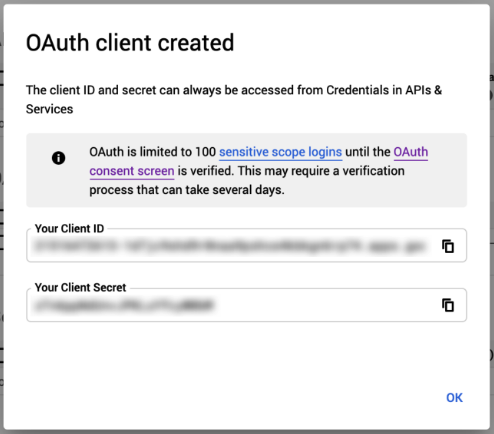
- Copy the Client ID and Client Secret values from the Google Cloud Console into the appropriate boxes in the confirmation message:

You can also edit them by going to Credentials and clicking the edit icon for the appropriate OAuth 2.0 Client IDs row: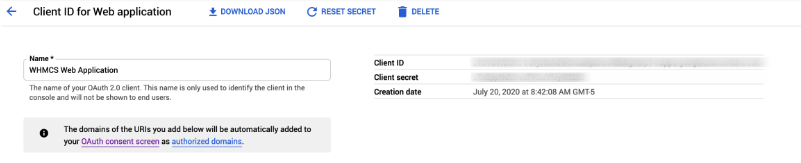
- Next to Connection Token, click Connect. (Connection Token will be empty.)
- Under Choose an account, select the account that you used to create the app.
- Follow the prompts to approve access for your account.The system will automatically enter a token in Connection Token.If you see a This app isn’t verified. error, click Advanced and then click Go to at the bottom of the window.
- To ensure that your configuration works, click Test Configuration.
- Click Save. The system will test your configuration again when you save.
Create your Google Application
Before you can set up Google as your service provider, you will need to create an app and then create an associated client ID. This will let you connect to Google via WHMCS.
If you have already used Google Cloud’s console, you may not need to perform some of these steps, or interfaces may not look like the screenshots below.
Create the App
To create the Google app:
- Log in to the Google Cloud console. If you haven’t before, select your country and agree to Google’s Terms of Service.
- In the left-side menu, go to APIs and Services > Credentials.
- Click Create Credentials and select OAuth client ID.
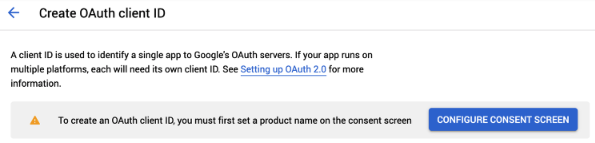
- Click Configure Consent Screen.
- Click Get Started.
- Enter a new name in App name.
- Select an address for User support email.
- Click Next.
- Select External for User Type. Selecting this allows anyone to use the generated client ID after a verification process. However, when creating a client ID that is only for WHMCS, you do not need verification.
- Click Next.
- Enter an email address.This must be a separate email address from your Google email address.
- Click Next.
- Under Finish, select the checkbox to agree to Google’s API Services User Data Policy.
- Click Continue.
- Click Create.
- In the left-side menu, click Branding.
- Under Authorized Domains, enter the domain for your WHMCS installation.
- Save your changes.
- In the left-side menu, click Audience.
- Under Publishing Status, if the current status is Testing, click Publish app.
Create the Client ID
To create the client ID:
- In the left-side menu, click Overview.
- Under Metrics, click Create OAuth client.
- For the Application Type, select Web Application.
- Enter a name for your application.
- Under Authorized redirect URIs, click Add URI.
- Enter the Callback URL that displays in WHMCS.
- Click Create. A confirmation message will appear, with the Client ID and Client Secret to use in the steps above.
Debugging
To begin the troubleshooting process for many SMTP-related issues , you can enable debugging, replicate the problem, and then review your logs.
To do this:
- Go to the Mail tab at Configuration () > System Settings > General Settings and enable Debugging for your mail provider.
- Replicate the problem.
- Go to Configuration () > System Logs and review the output.
After you resolve the issue, return to the Mail tab at Configuration () > System Settings > General Settings and disable Debugging for your mail provider.
For more information, see Troubleshooting System Email.
Last modified: 2026 February 3