Enable the Language Menu
WHMCS includes multiple Client Area and store translations through files in the lang directory. You can choose whether to allow customers to select their own language from a language menu.
- You can also customize the text that customers see. For more information, see Customize Text.
- To customize the languages that appear in this menu on self-hosted WHMCS installations, see Removing Languages.
- To add new languages to self-hosted WHMCS installations, see our Developer Documentation.
Enable the Language Menu
To enable the language menu in the Client Area:
1. Go to the Localisation tab.
Go to Configuration () > System Settings > General Settings and select the Localisation tab.
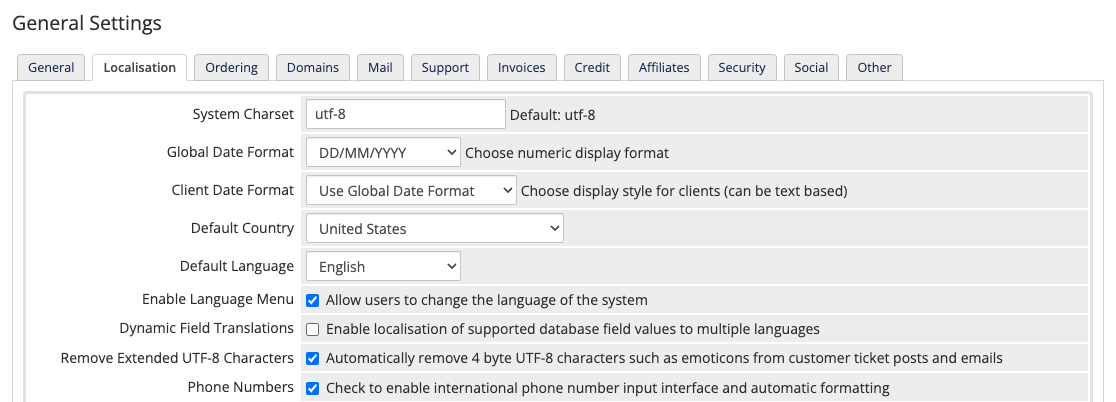
2. Check Enable Language Menu.
Check Enable Language Menu.
3. Save your changes.
Click Save Changes.
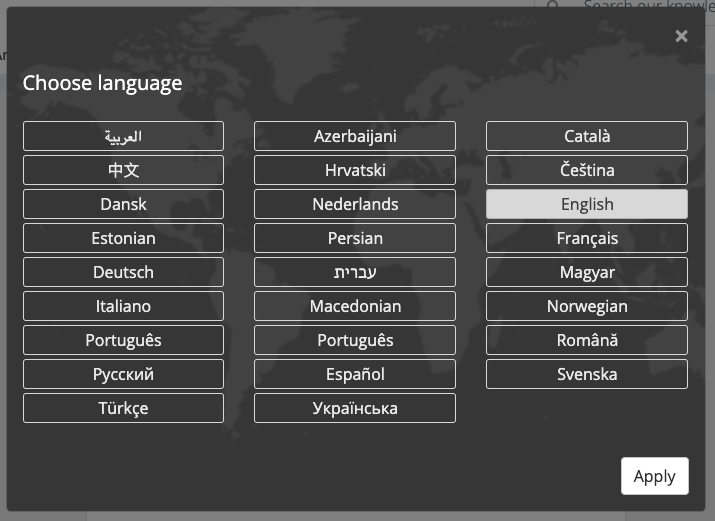
Visitors will now see a button in the bottom-right corner of the page that they can use to select their preferred language:
Last modified: 2025 November 27