Disable Analytics Tracking
WHMCS’s analytics tracking system collects data about how admins use WHMCS and how businesses configure their WHMCS servers and installations. We use this information to improve user experience and to select the features that we add in future releases.
User activity tracking includes information about how admins navigate the WHMCS Admin Area and use its features. WHMCS’s analytics tracking system only collects this type of data after an admin explicitly consents to tracking. Individual admins can consent to or withdraw consent for user activity tracking for their specific admin account only.
If you have previously consented to user activity tracking, you can disable the associated settings to revoke consent. When you do this, WHMCS will immediately stop user activity data collection.
- WebPros International, LLC always collects data on your WHMCS installation’s configuration and the configuration of the server that hosts WHMCS.
- For more information, see Analytics Tracking and our Privacy Policy.
Disable in the Getting Started Wizard
To disable user activity tracking using the Getting Started Wizard:
1. Go to the Getting Started Wizard.
Go to Configuration () > Getting Started Wizard.
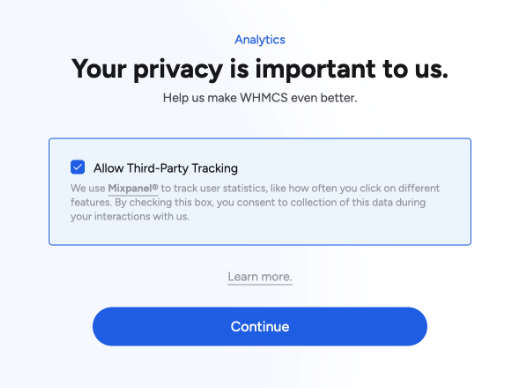
2. Disable tracking.
On the Analytics step, uncheck the Allow Third-Party Tracking checkbox.
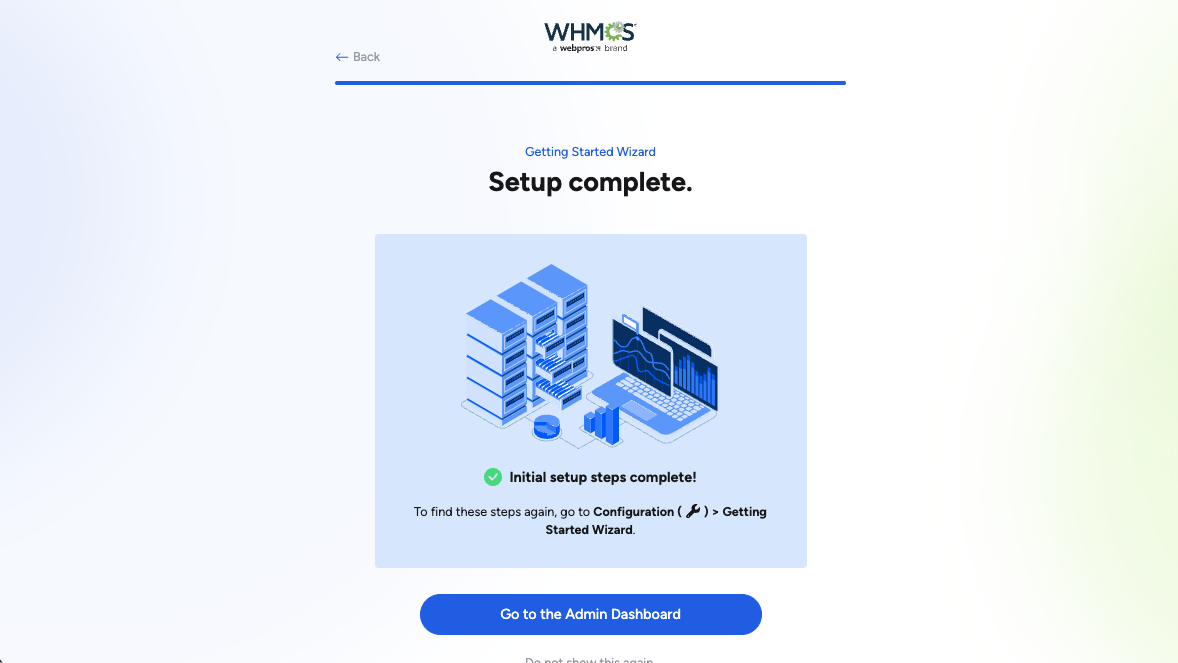
3. Proceed through the remaining steps.
To complete the Getting Started Wizard, follow the displayed steps, clicking Continue to move to each step until you reach a Setup Complete message.
Disable in My Account
To disable user activity tracking for an admin’s account:
1. Go to My Account.
Go to Account () > My Account.
2. Uncheck Analytics Tracking.
At the bottom of the page, uncheck Analytics Tracking.
3. Save changes.
Click Save Changes.
Last modified: 2025 June 30