Update in the Browser
Advanced users can update self-hosted WHMCS installations manually using a web browser.
Manually Update Using the Browser
1. Prepare to Update
Perform our recommended steps to check our Release Notes and system requirements, verify the status of your customizations, test the update on a testing environment, and perform a backup.
2. Download the release files.
If you buy your license directly from WHMCS, download the latest full release.
If you buy your license from a reseller, retrieve these files from your license provider.
3. Unzip the release files.
Unzip the contents of the downloaded WHMCS .zip file to a folder on your computer.
4. Rename customized admin directories.
If you have customized the admin directory, rename the /whmcs/admin directory in the new files (if it is present) to match it.
5. Perform the update.
Perform the update using the correct method for your distribution (Full Release or Patch Set).
Full Release
To update using a Full Release distribution:
- Upload the new files to your existing installation folder, replacing any existing folders and files.
- If you have customized the location of the
cronsdirectory, make certain that you move that directory’s contents in your distribution to the custom location. - Visit the update page at
example.com/whmcs/install/install.php, whereexample.comis the domain for your WHMCS installation.If a WHMCS Not Installed Error message appears, you may have overwritten theconfiguration.phpfile when you performed the upload step. Restore that file from your backup before continuing. - Click I AGREE.
- Click Continue.
- Check to ensure that you have successfully backed up your installation (above).
- Click I have a backup, start the upgrade.
- The database update process will start.
- Within a few minutes, a success message will display.If a failure message appears, see Updating WHMCS.
- Delete the
installdirectory from your server. - If you have customized the permissions on any files (for example,
/crons/pipe.php), reapply those changes. - If you have custom themes, make any necessary changes to your custom templates.For more information, see the Template Changes section of the version’s Release Notes.
Patch Set
To update using a Patch Set distribution:
- Upload the new files from the
/whmcs/directory to your existing installation folder, replacing any existing folders and files. - Go to the WHMCS Admin Area. WHMCS will increment the version number and complete the process.
- If you have customized the permissions on any files (for example,
/crons/pipe.php), check to ensure that the customizations remained in place. - If you have custom themes, make any necessary changes to your custom templates.For more information, see the Template Changes section of the version’s Release Notes.
Verifying the Upgrade
After the update finishes, check to ensure that WHMCS is working properly. We recommend testing all of the important features and functions in WHMCS, like logging in as a client and as an admin, viewing products, submitting support tickets, and placing new orders.
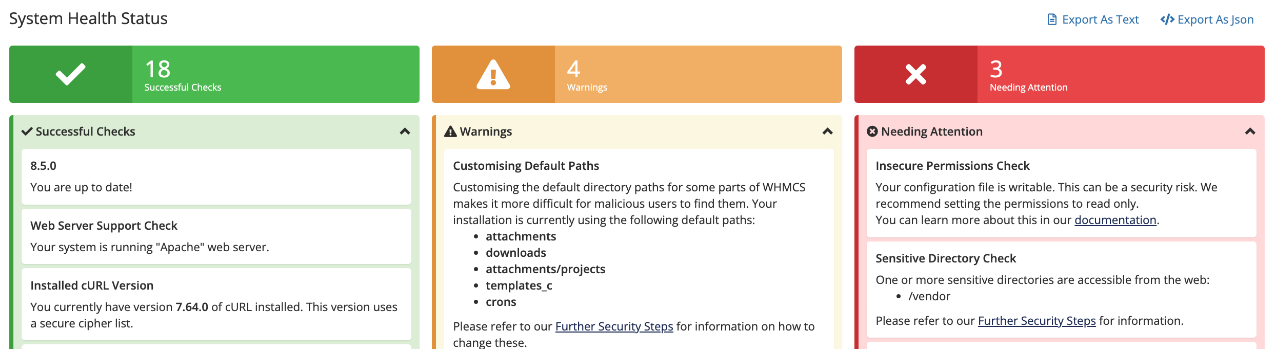
We also recommend monitoring the alert messages at Configuration () > System Health for the 24 hours following the update:
Last modified: 2026 February 26